
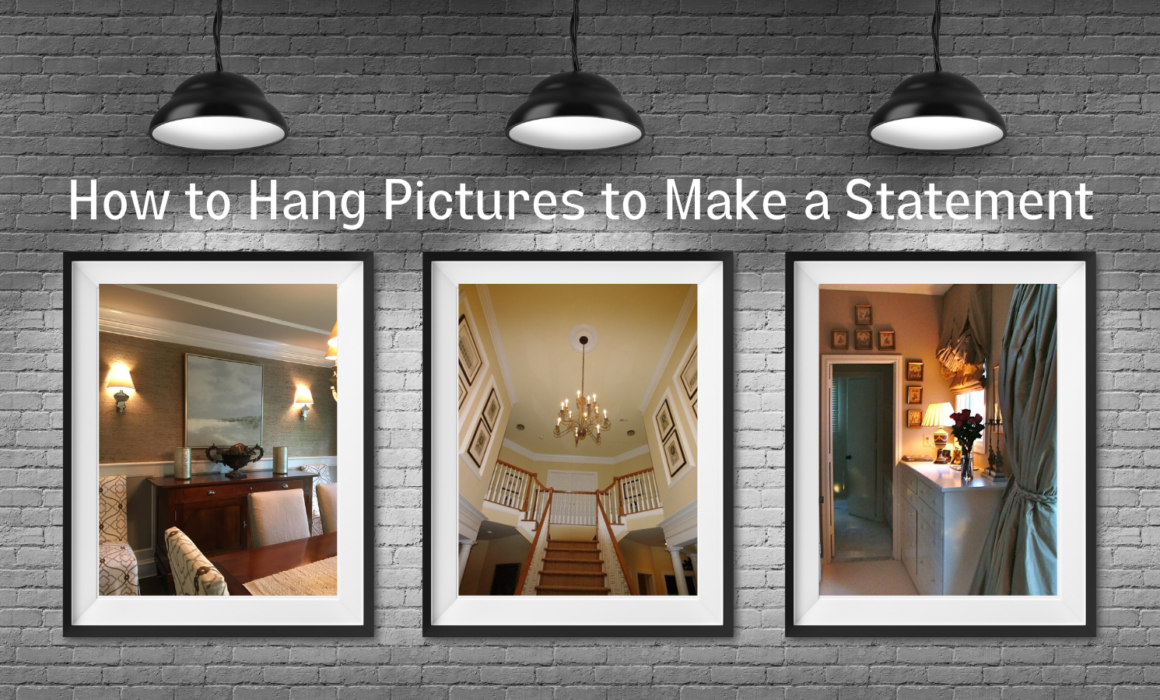
How to Hang Pictures to Make a Statement
Wall art is a crafty way to add charm to a room and hanging it correctly can be tricky. Its display can not only transform the room but can give the pictures life. There are a few things to consider when hanging pictures. First, as a general rule of thumb, pictures should be hung at eye level, meaning its midpoint should sit at around 60 inches above the floor. If you have really low or high ceilings, you can adjust accordingly and place it where it feels right. Or if your art is in a sitting room, it can be hung a little lower so that it can be in the line of sight to be enjoyed more. Second, you never want to hang a picture on a wall that receives direct sunlight; this will cause irreversible damage. Other questionable locations are the kitchen and bathroom as these rooms experience heat and humidity that can damage art. Now, on to different ways to hang pictures to make a statement.
Oversized Art
Add visual impact by hanging a single oversized picture above a large piece of furniture, such as a sofa or credenza. The oversized art should be approximately ⅔ the width of the piece of furniture and hung six inches above. If it is being hung above a sofa, it is best to hang it around 10 inches above the back to inhibit people from hitting their heads on the artwork.
Family Photo Wall
Get your family photos off of your phone and onto your walls! Print out a batch of your family favorites and display them on a gallery wall. Select a few different mats and frames that coordinate with one another to display your family gallery. Another popular option is to have your family photos printed on canvas. These can be all one size to create an arranged grid look or different sizes for a lively collage. You could even add in a few canvases of abstract art for a more eclectic wall. These pictures should be hung approximately 2 inches apart.
Salon Wall
A salon wall contains many different pieces of art of various sizes and mediums, all intermingling next to one another. This trend has been re-emerging in recent years and looks exquisite hanging above a shelf or console table. This might seem a bit overwhelming but the lack of order in these displays makes them quite easy to create. You’ll want to start with the largest piece first and place it a bit off-center. Keeping an even space between each art piece, you’ll start to build around it. Be sure to not hang similar pieces next to one another and to stagger pieces as hanging them in straight lines will cause the wall to appear dull. The easiest way to get the configuration that you like best is to play around with it on the floor before you begin poking holes in the wall.
Stagger on a Staircase
With a wall extending from one level to the next, a staircase makes an ideal spot for a picture gallery. These galleries can be organized symmetrically or staggered. Either way, you will want to start with the center point of the stairs and work your way outward. It’s important to keep each picture the same distance apart, about two inches. For a staggered appearance, you will want to hang frames both horizontally and vertically. If you still have more pictures to place, you can add a gallery to the landing of the stairs to keep the flow going.
Any of these picture-hanging trends will add character to your home and undoubtedly make a statement!