
Making New Windows Look Old
Maintaining the beauty of an older home can be quite costly especially when it comes to windows. When you have a historic home, many times those same windows aren’t created anymore and you have to get creative on how to integrate new windows to fit with the antique look of your home. But before we get ahead of ourselves, let’s first decide if you need new windows!
Do you need new windows?
The first step when thinking about repairing or replacing your windows is considering the issues your existing windows are having
1 – Are the window panes broken?
2 – Are you struggling to open and close them?
3 – Is water coming through the panes and sills every time it rains or you have your windows professionally cleaned?
4 -Is their rotten wood on the windows?
5 – Are your old windows simply not holding up against the elements and your energy bills are soaring?
Repairing your old windows can get expensive with the cost of the materials and the labor so, many times, replacing them may be your best bet. If the answer is yes, then let’s move on to how you can integrate these new windows with the rest of your rustic aesthetic.
An Example from DC
To best illustrate how you can integrate your new windows with an older home, we’ll focus on a particular job which involved a client who decided to replace her windows but wanted to maintain the character of her old home. The project involved replacing a bay window and two side double-hung windows in a dining room on a home built in 1940 in Washington DC in the Reservoir/Foxhall Road neighborhood.
Step 1: Measure and Re-measure
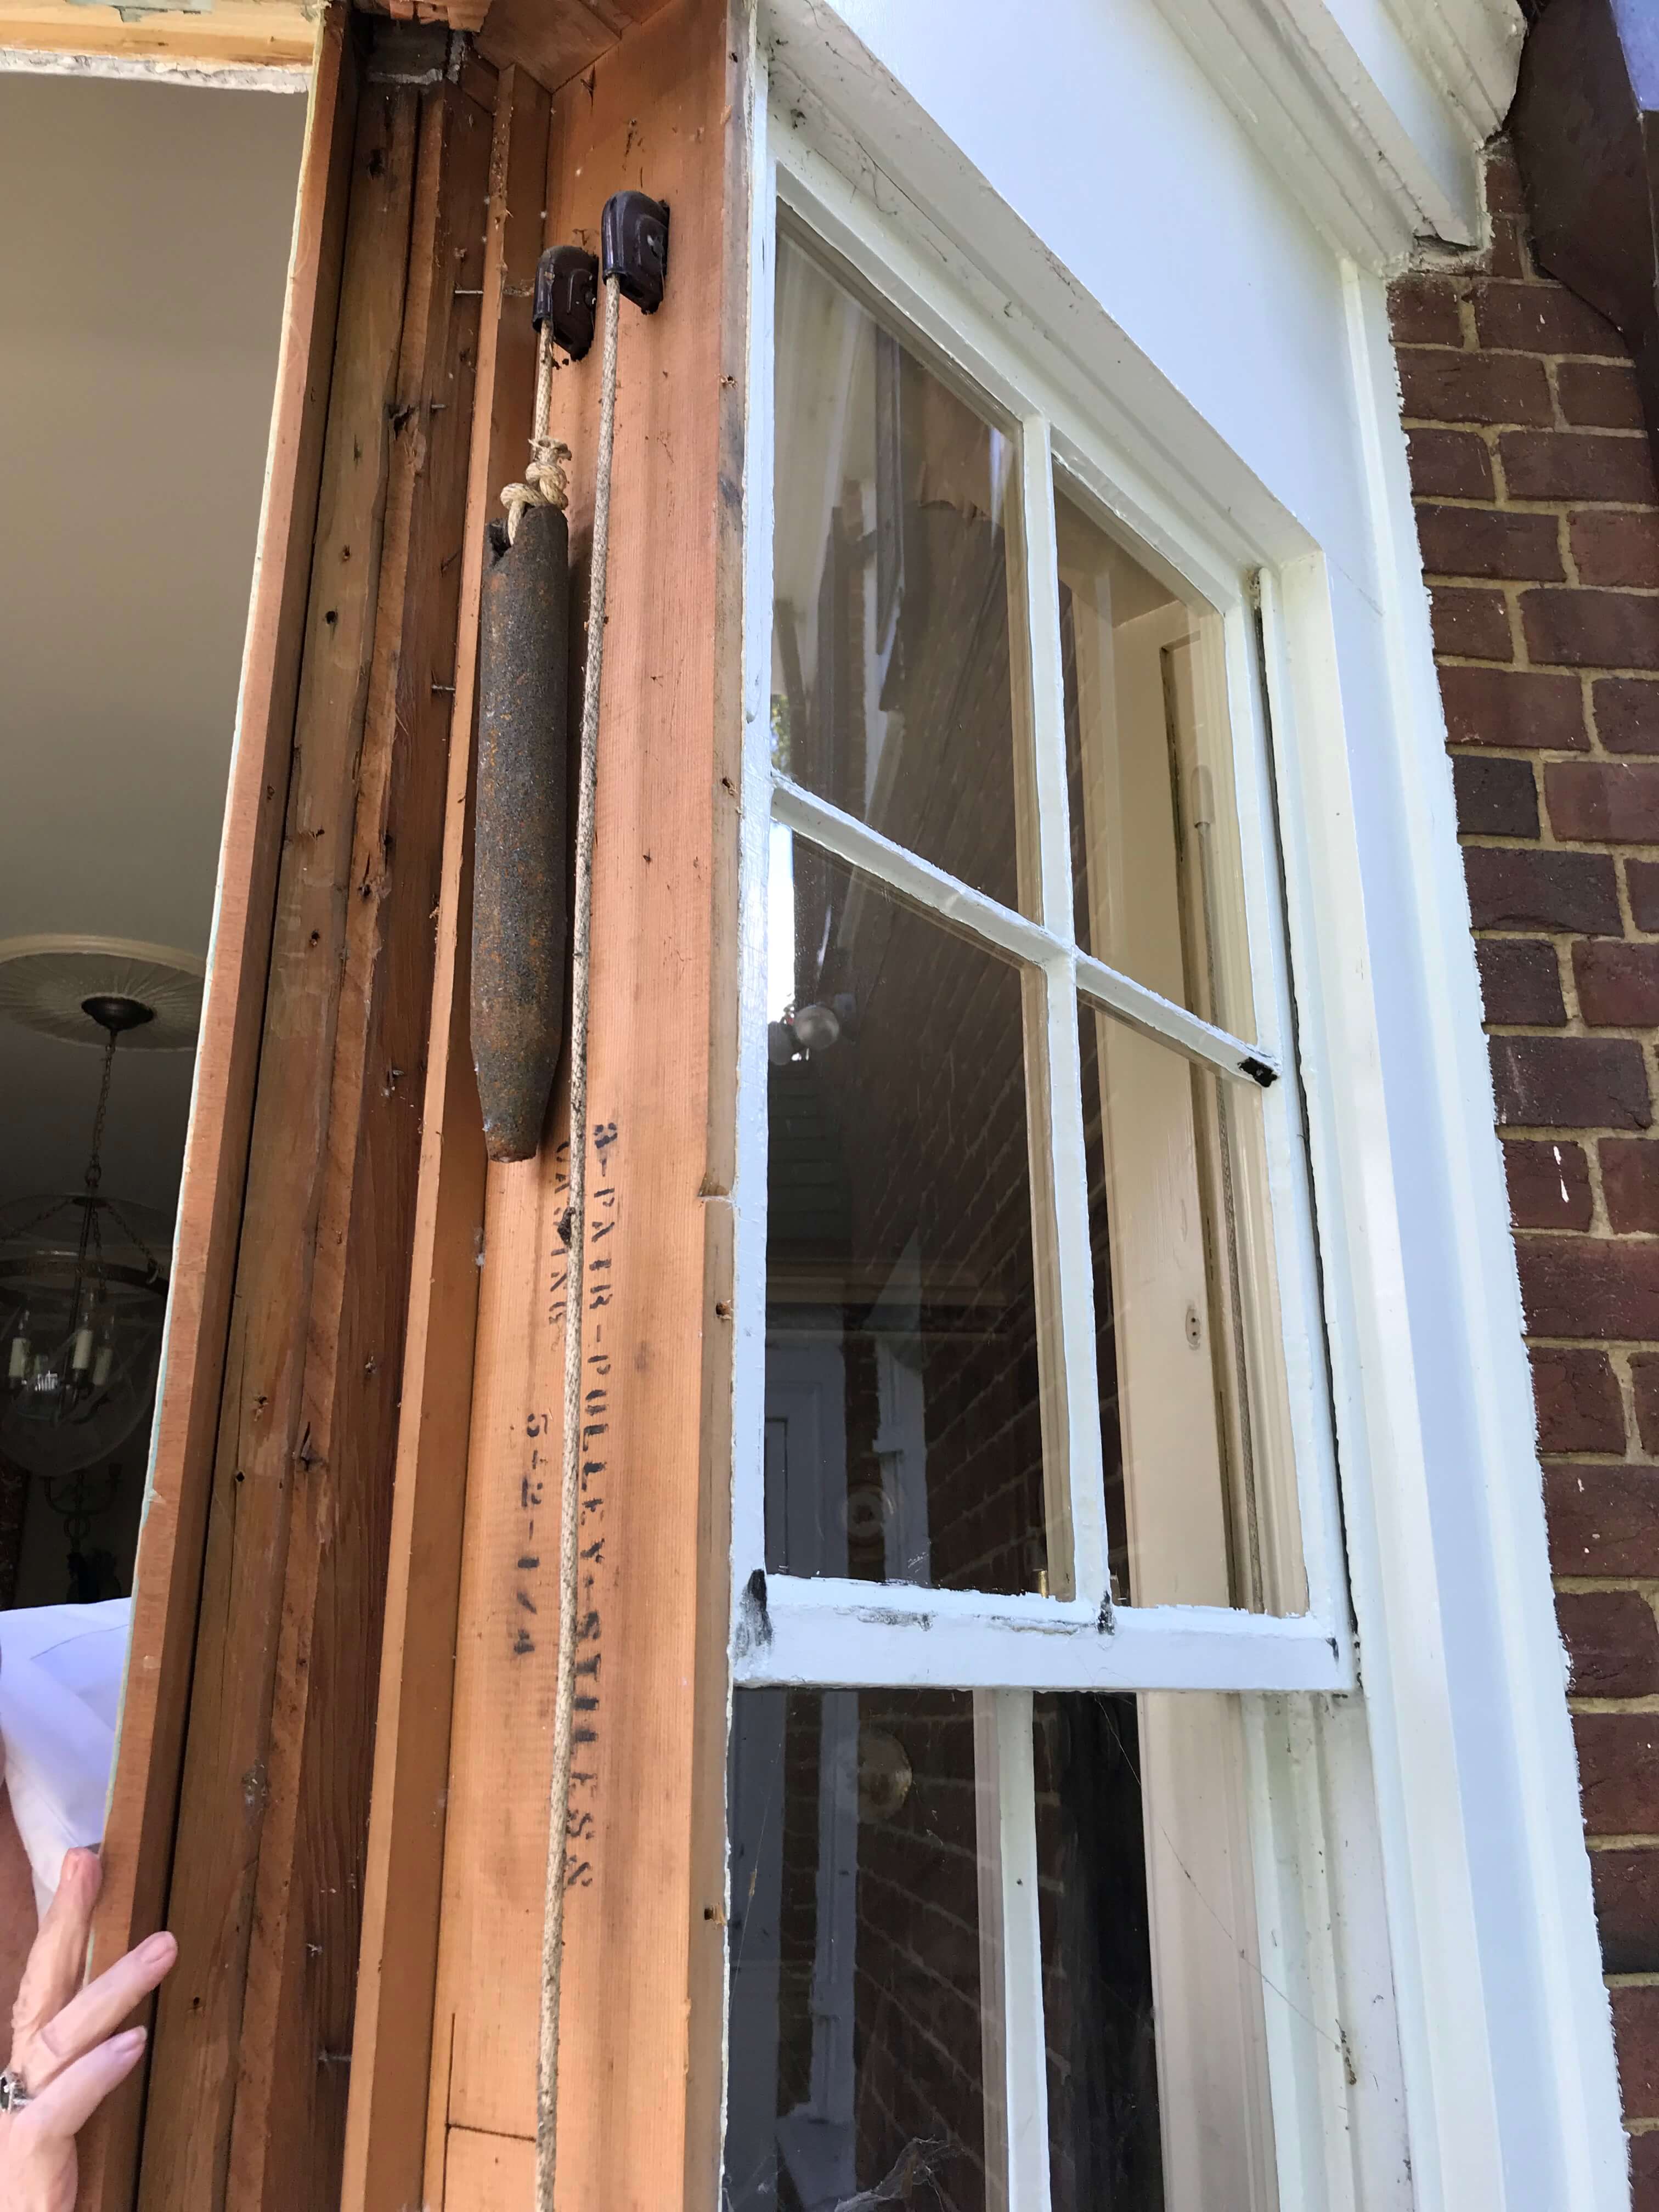
The first step when ordering new windows is having a professional measure and remeasure. In this particular case, there was a great deal of rotten wood around the window frames that had to be replaced, this was determined by the person who would be replacing the rotten molding with new molding around the window frames.
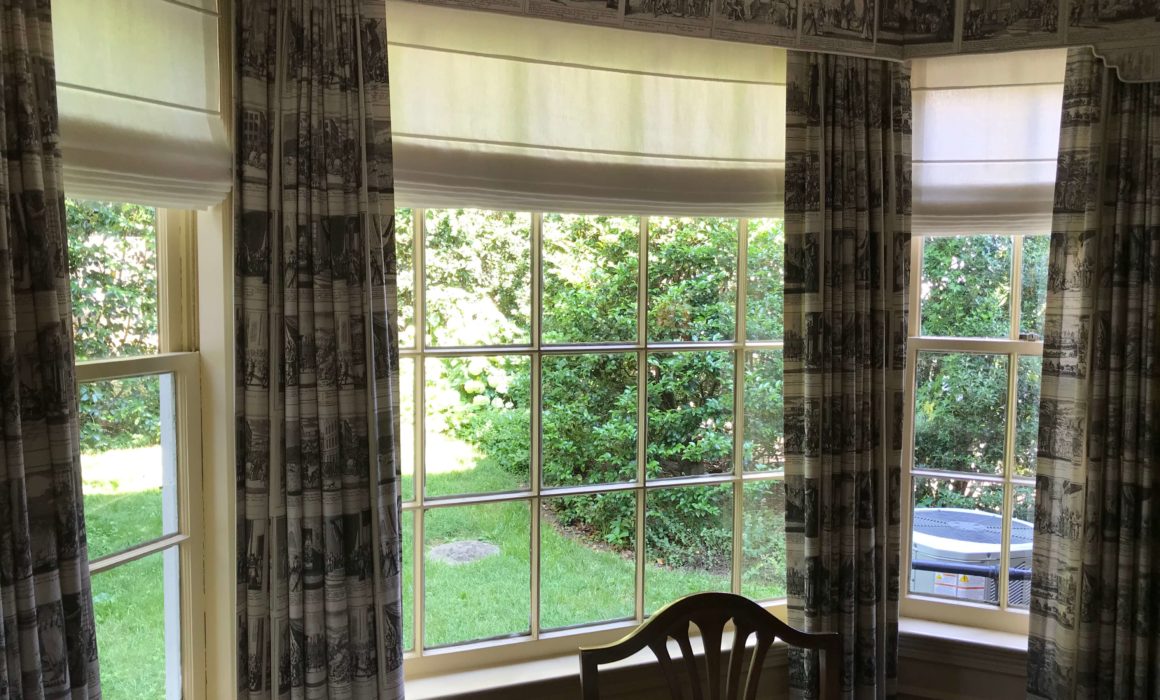
Window treatments removed, cleaned and stored
Step 2: Decide on Scope and Window Type
Once we discussed all the options with the client, we decided that new custom windows had to be ordered. We wanted the new custom windows that would be installed to have the same character as the windows that were currently in the client’s home. Every last detail was considered, even down to the new hardware that would come on the windows. Energy efficiency was another concern, so we chose a double pane glass. There are several companies that are well-versed in window options that blend older aesthetics with a dose of high tech. Aluminum cladding is increasingly used for window exteriors when maintenance is an issue. Several of the window manufacturers use a commercial grade aluminum that simulates painted wood and also exhibits much cleaner crisper edges than vinyl. My client chose this as her option for the exterior portion of the window and real wood grills for the interior.
Step 3: Installation Preparation
Once the windows are discussed and ordered, there are several items that need to be addressed so that once the windows come in the client is put at ease when the actual installation takes place. There are several steps that we’re taken to protect this client’s formal dining room.
Installation Preparation
1- All window treatments were removed, cleaned, and stored.
2- The walls in the room were covered with plastic sheeting to ensure that the vintage existing wallpaper would not be harmed.
3- All furnishings, in this case, a collection of period antiques, were either moved to another location or completely covered and moved away from the new window installation.
4- The floor was completely covered with protective sheeting.
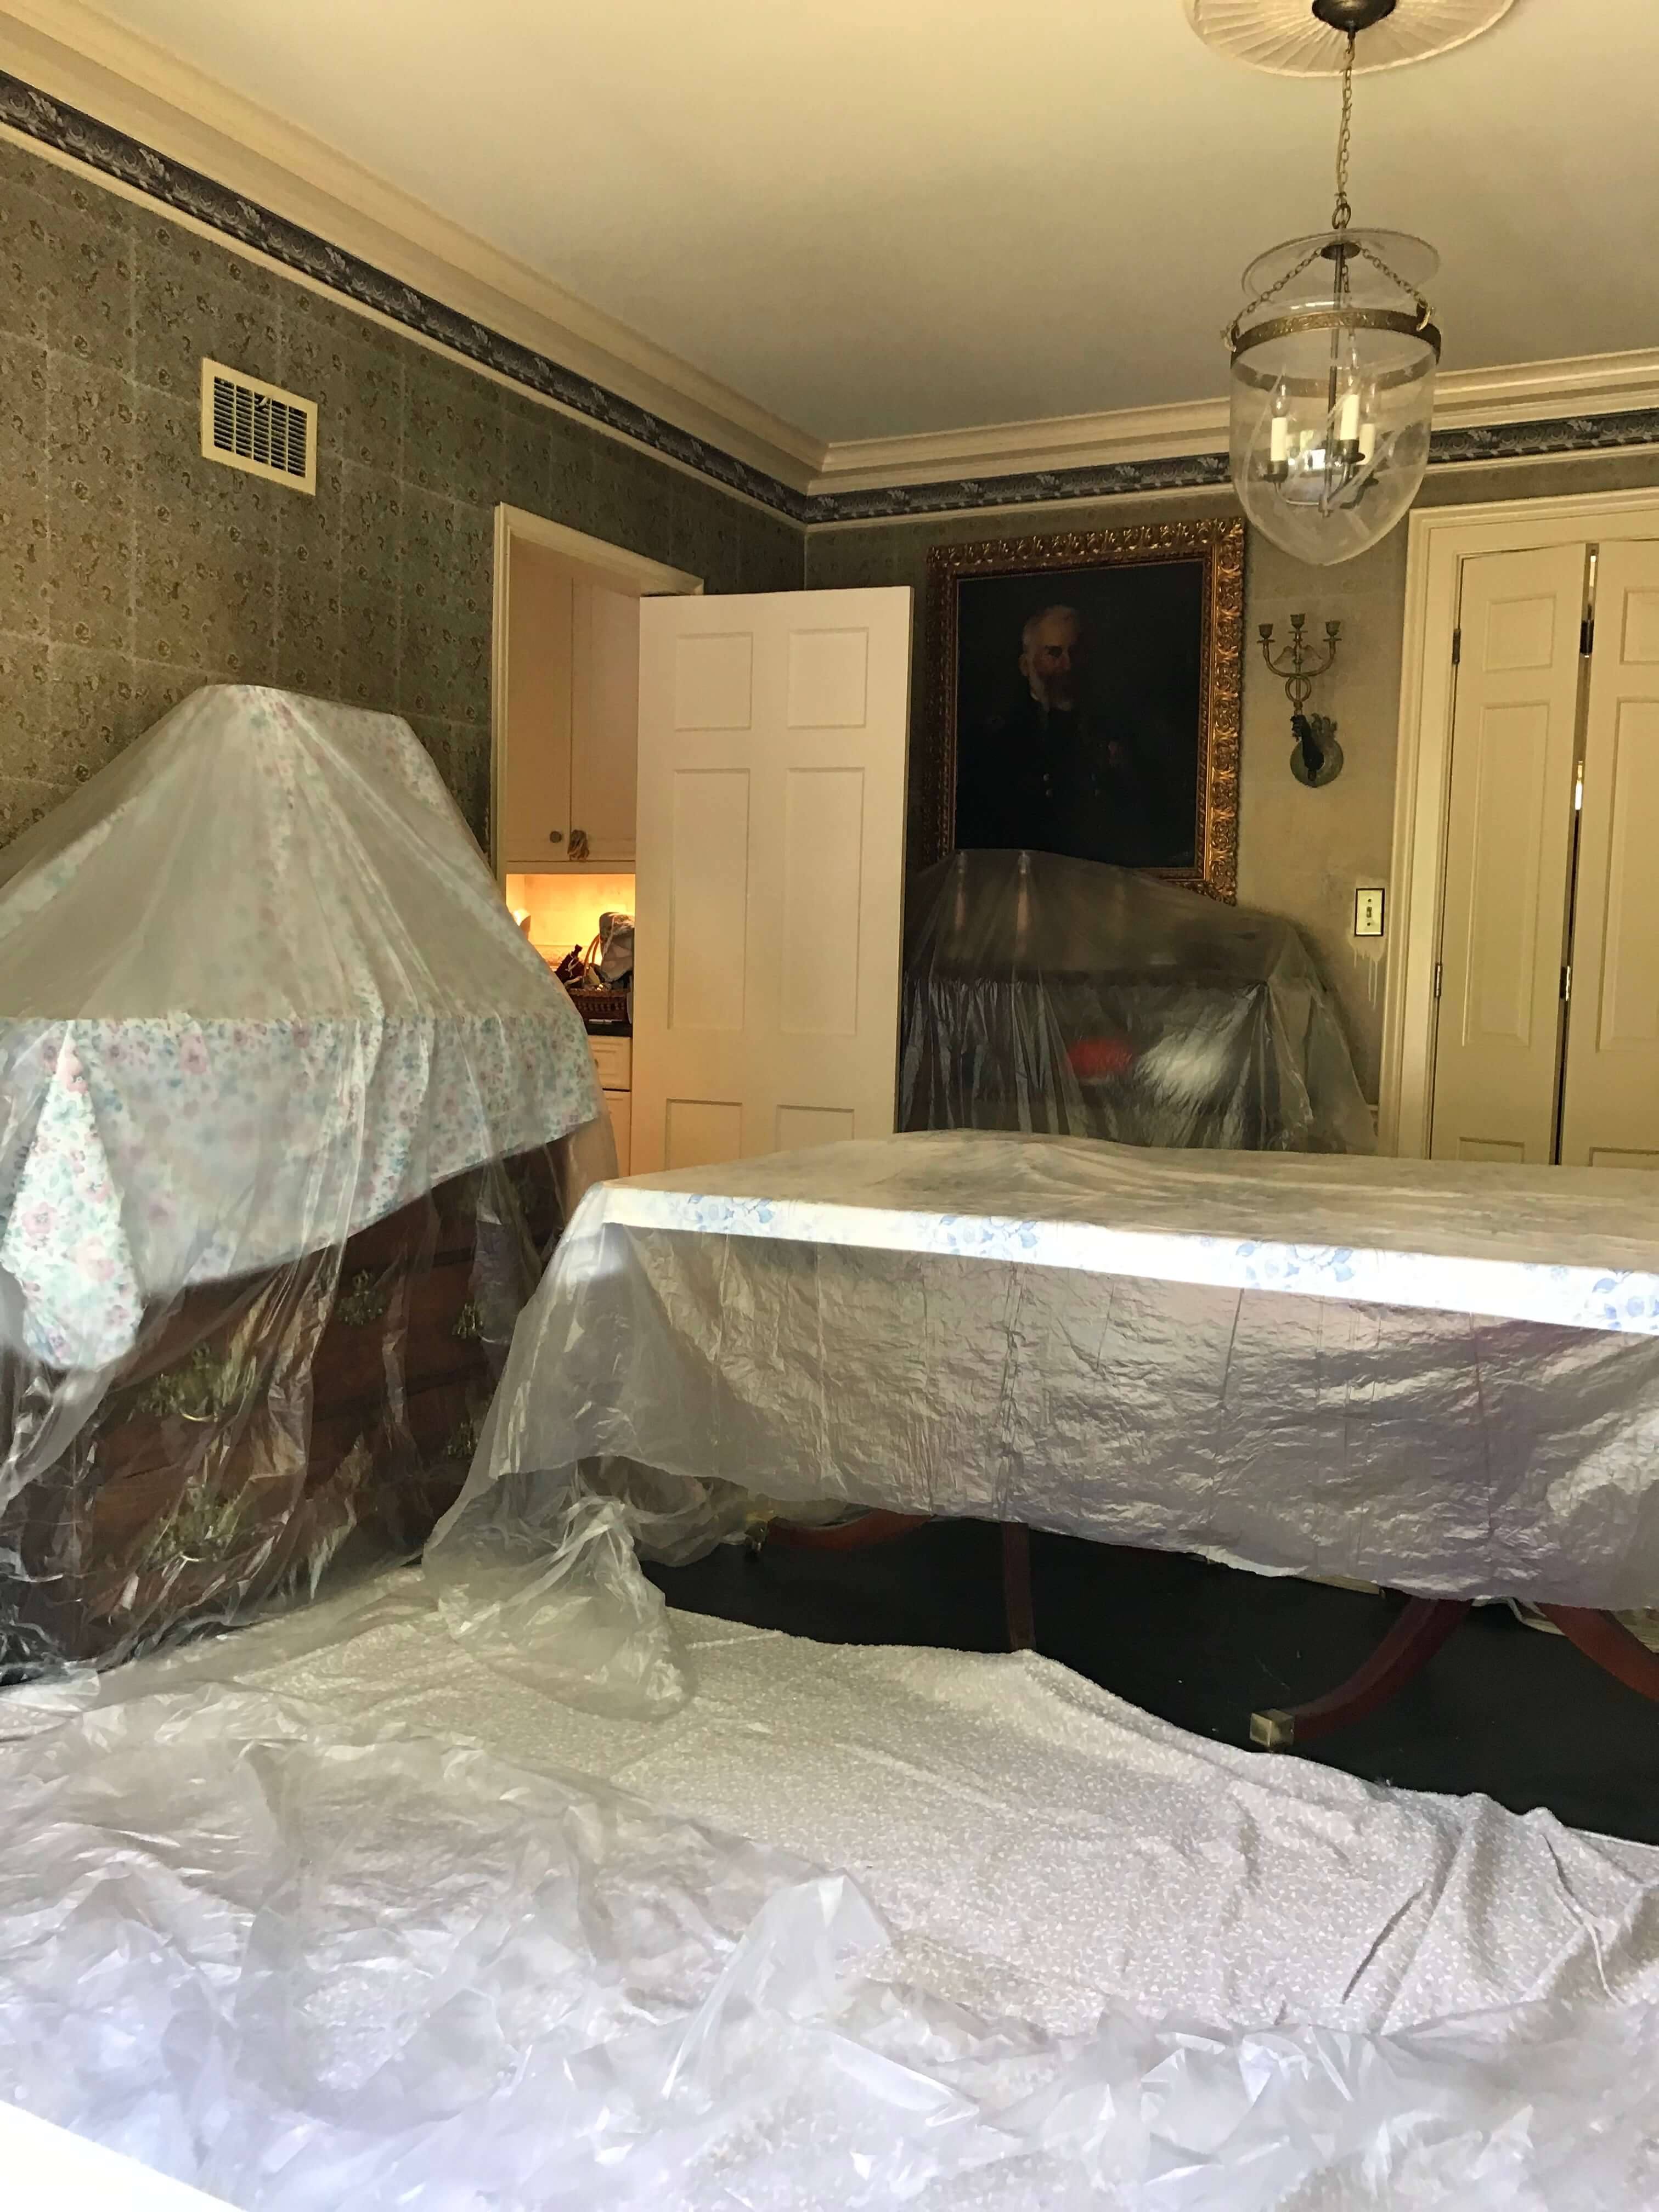
Covering all the furniture and floor with plastic sheeting
Step Four: Confirm Window Size and Add Moldings
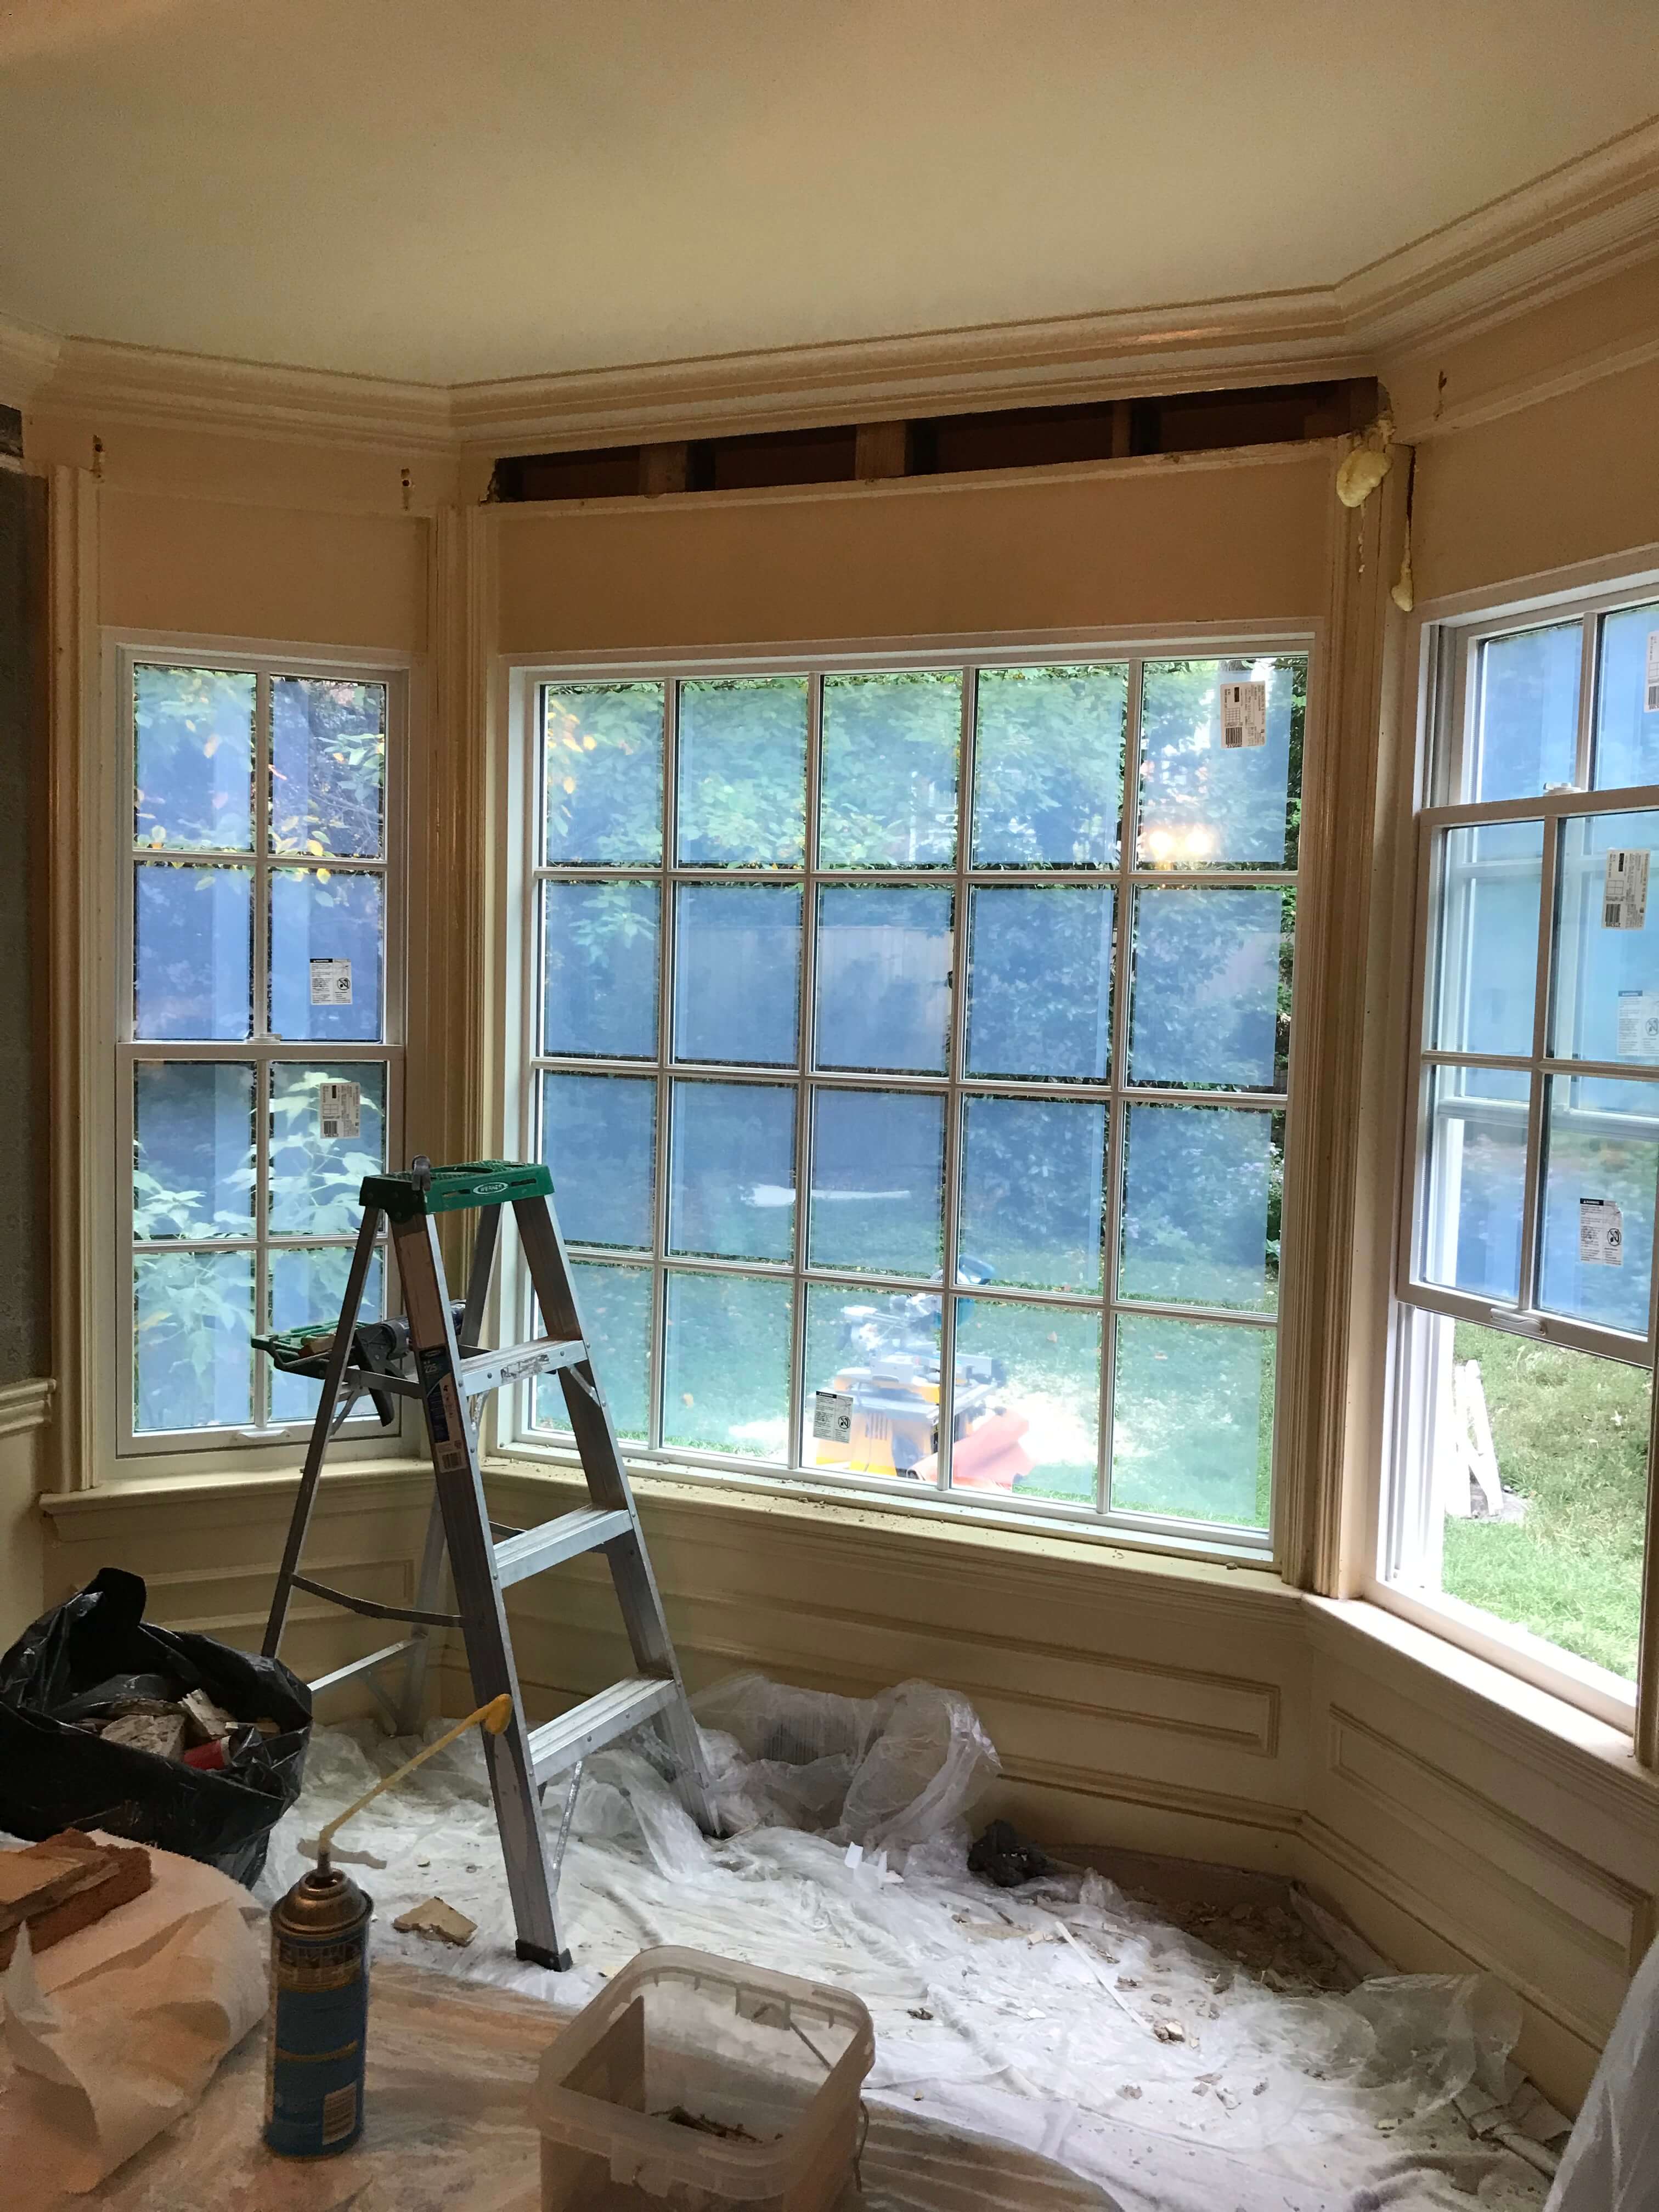
After all of these preparation steps, the installation process can begin. It’s time to put the measuring to the test, bring in the new windows and confirm that they will all fit into their new homes. In this case, the new windows fit perfectly. At this point, the contractors can remove the old rotten wood and begin creating custom moldings for the new windows.
Rotten wood is taken out and replaced. Plaster walls in dining room interior repaired
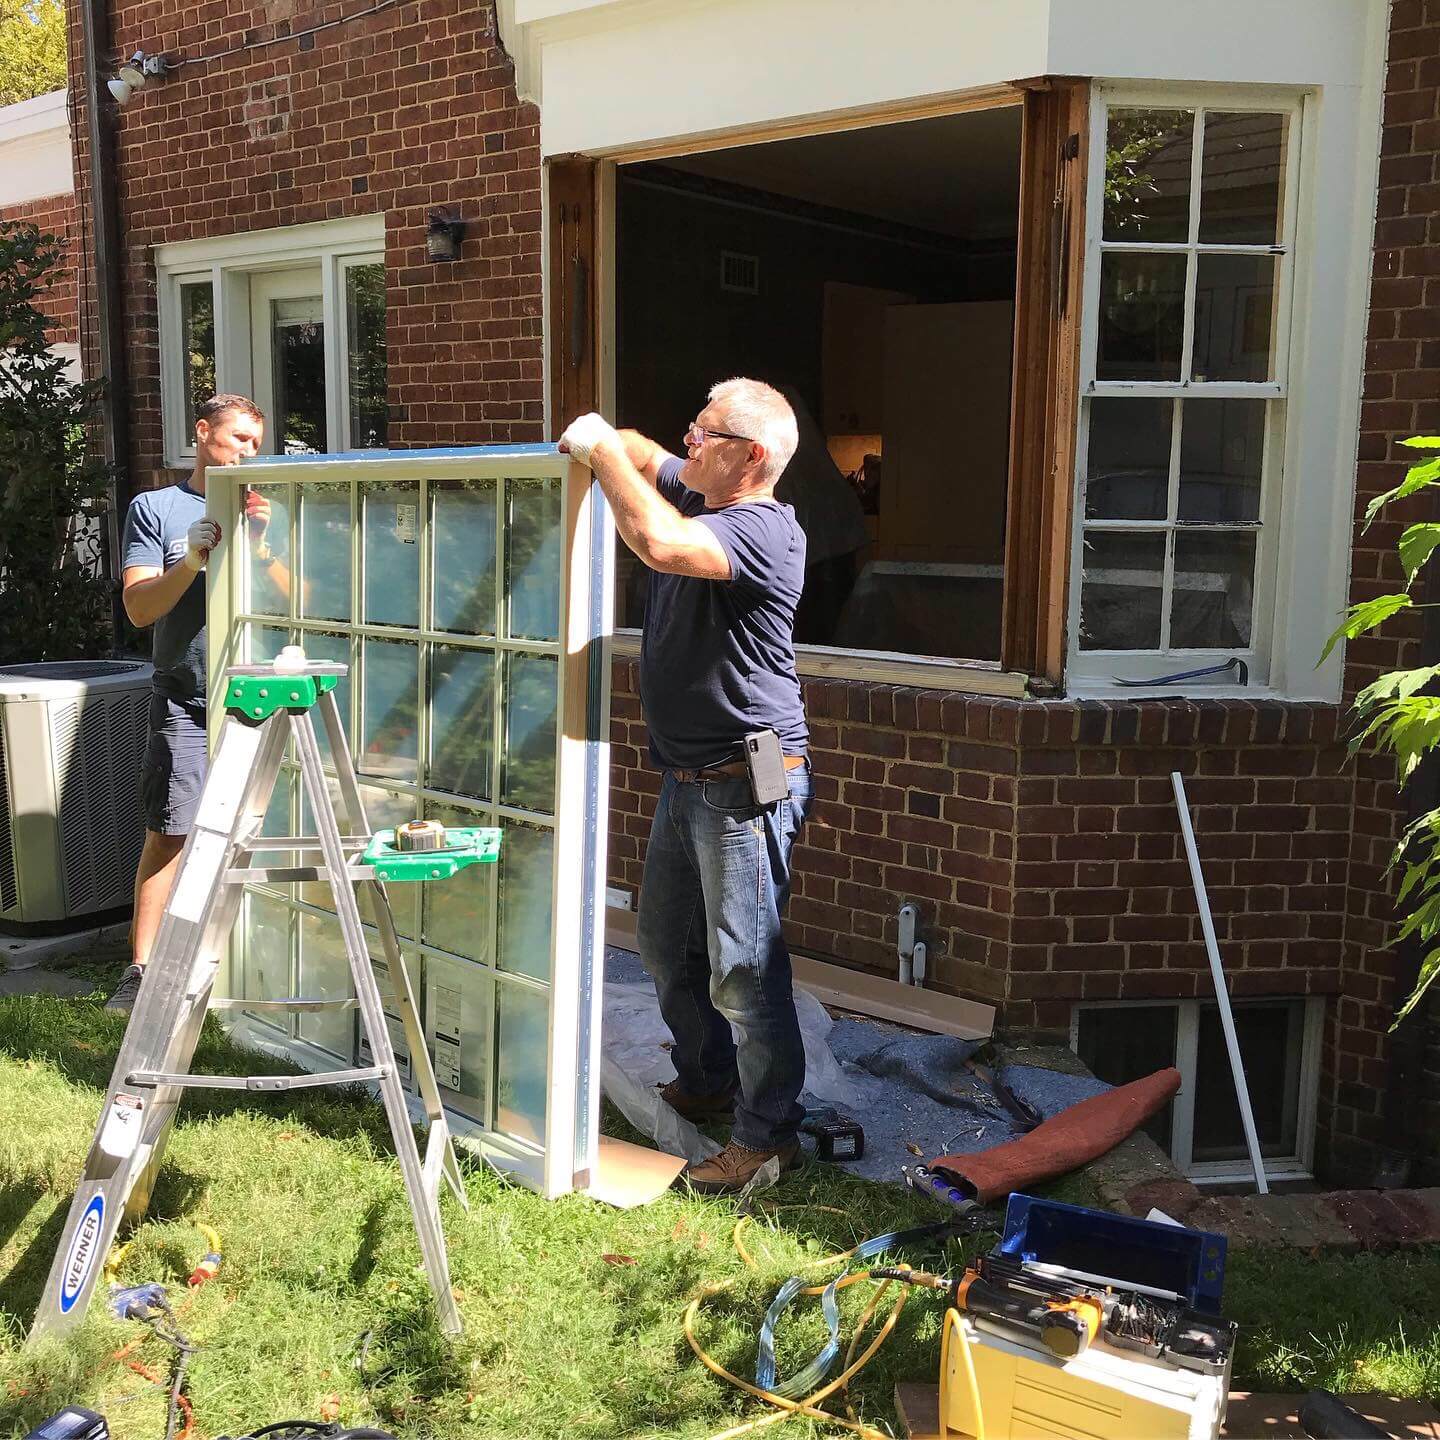
Installation of the new windows
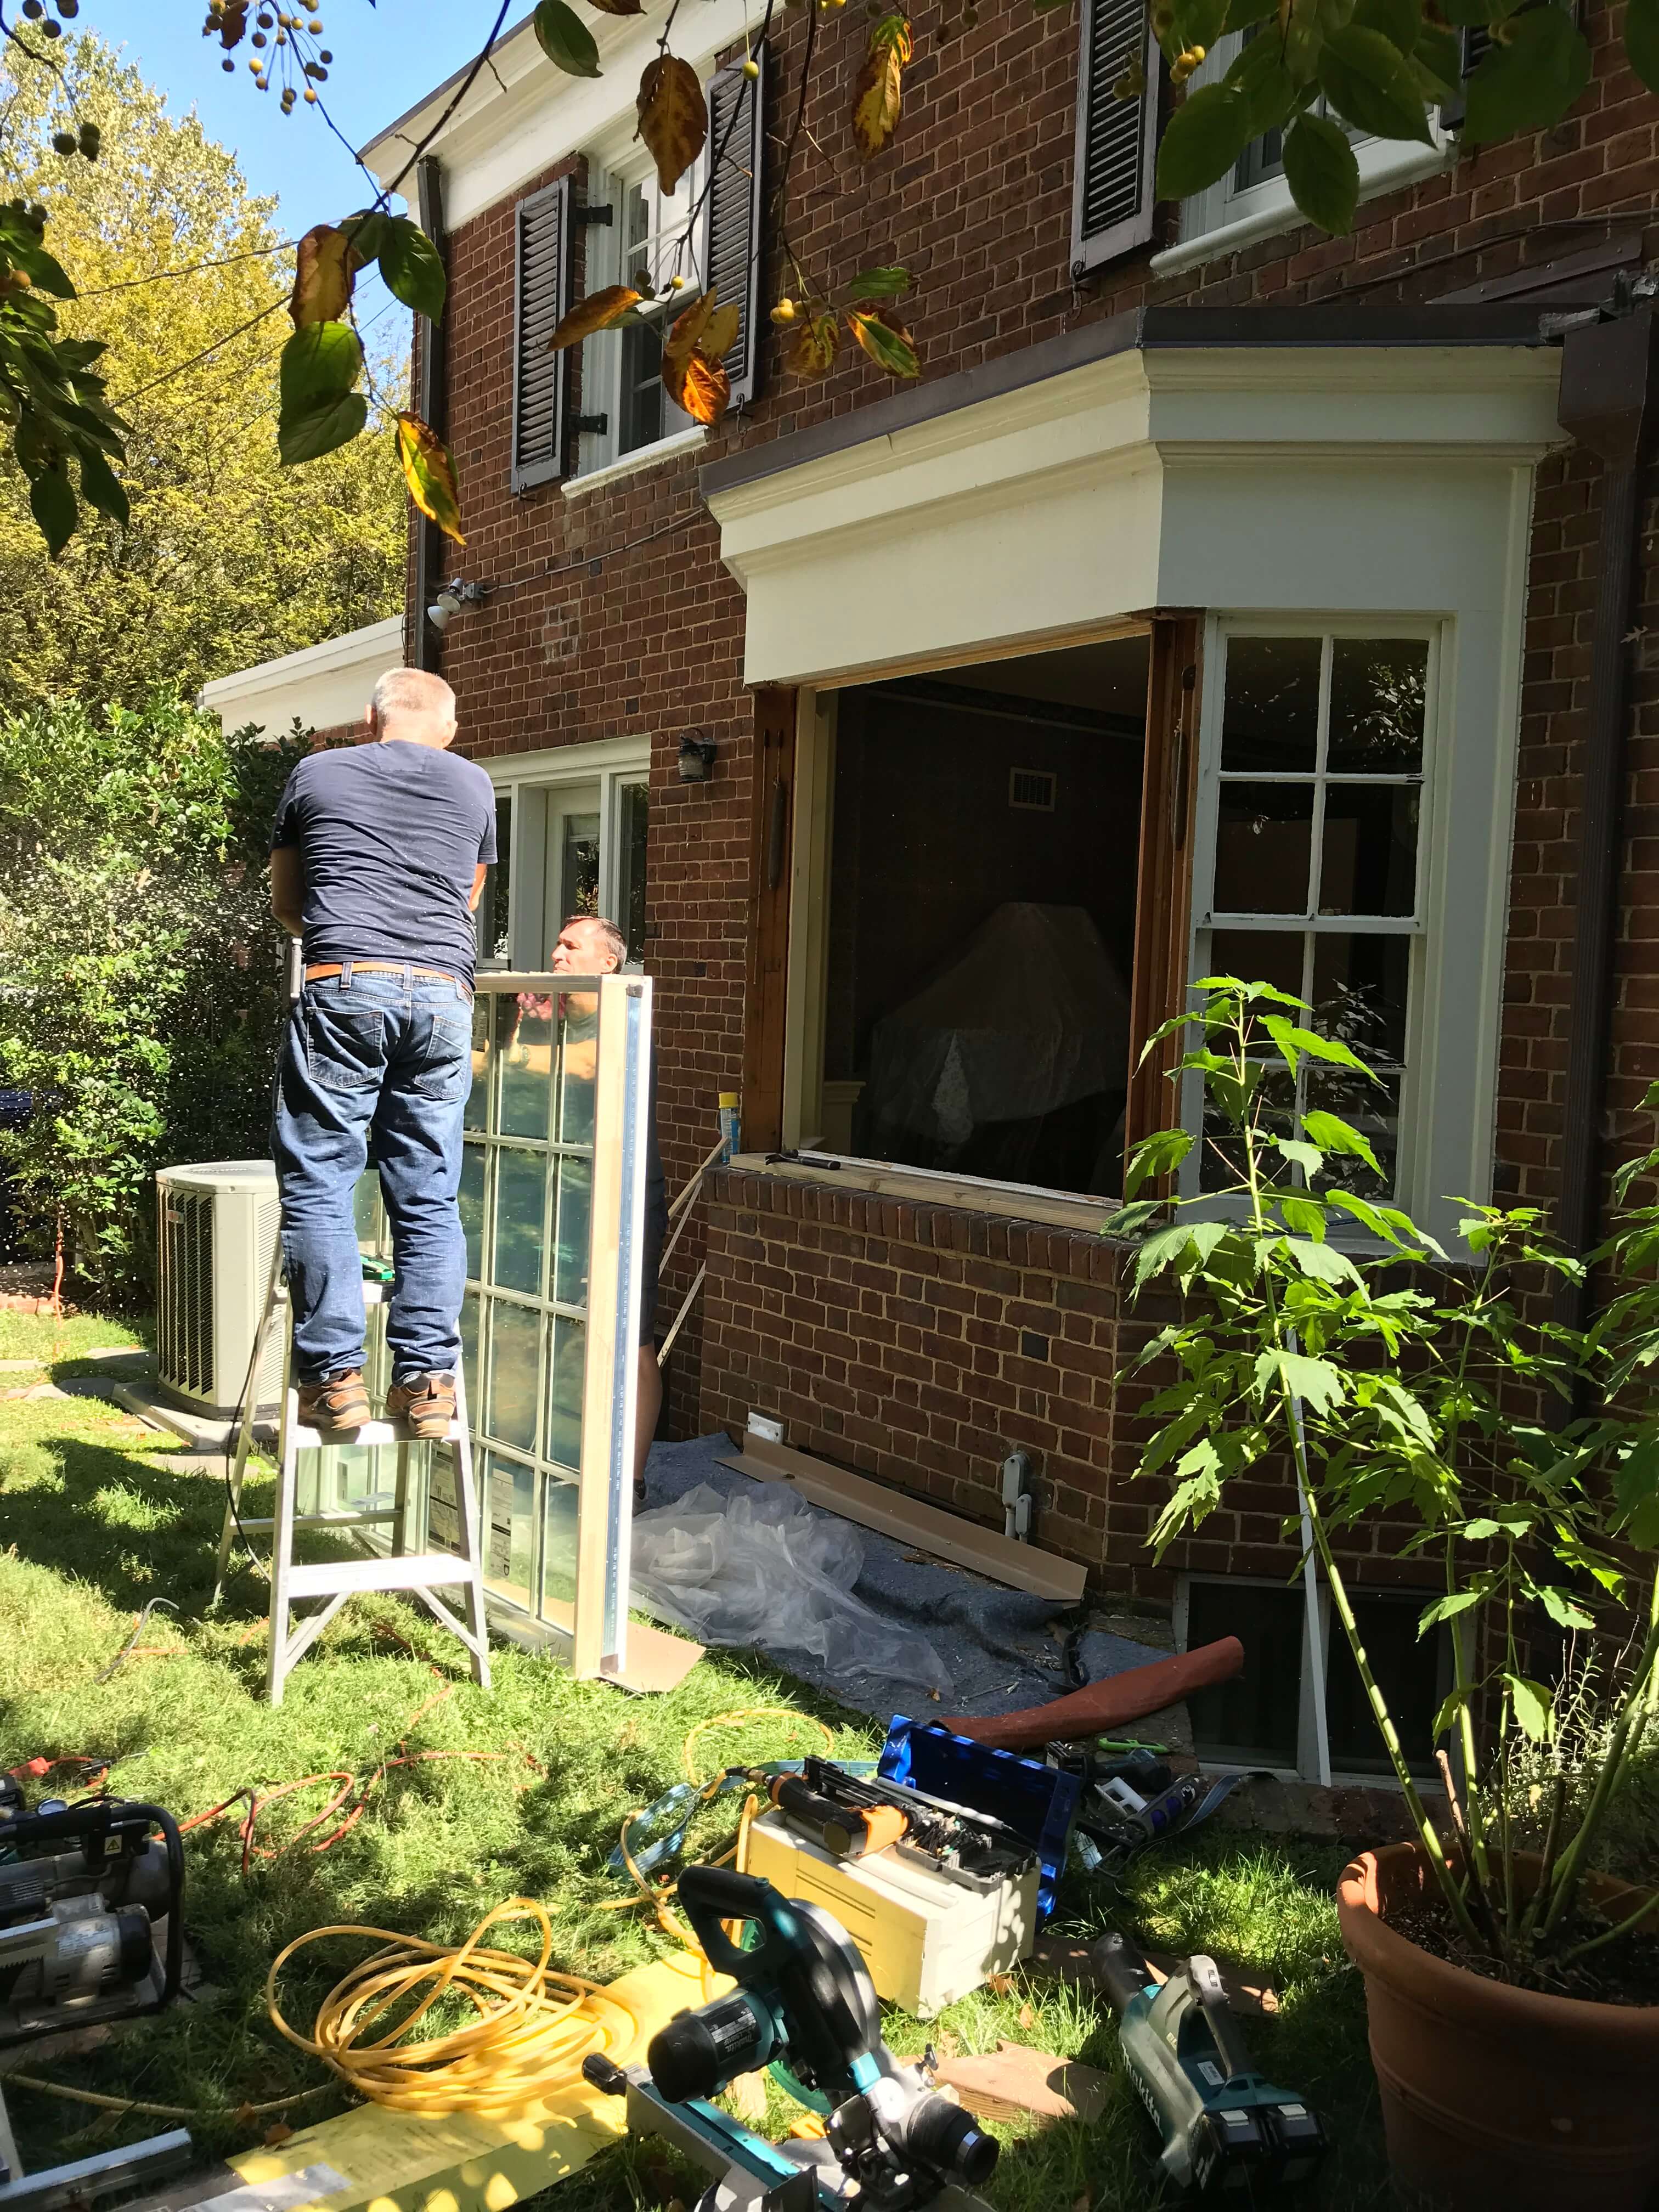
Installation of the new windows
Step Five: Seal the Windows
Now that the rot is removed and the windows are fitting perfectly into their placements, it’s time to seal them in and integrate them with the interior and exterior. In this project when everything was complete, my painter caulked and spackled all new wood both on the interior and the exterior. The interior paint color was matched to the existing old moldings in the room and all the new window trim was painted.

Time to Seal the New Windows
Step Six: Recreate the Room
Because we so perfectly prepped the room before, this part should be a snap! All the plastic sheeting can be removed, furniture can be brought back into the room and it’s time to reinstall any draperies that already existed with the windows previously.
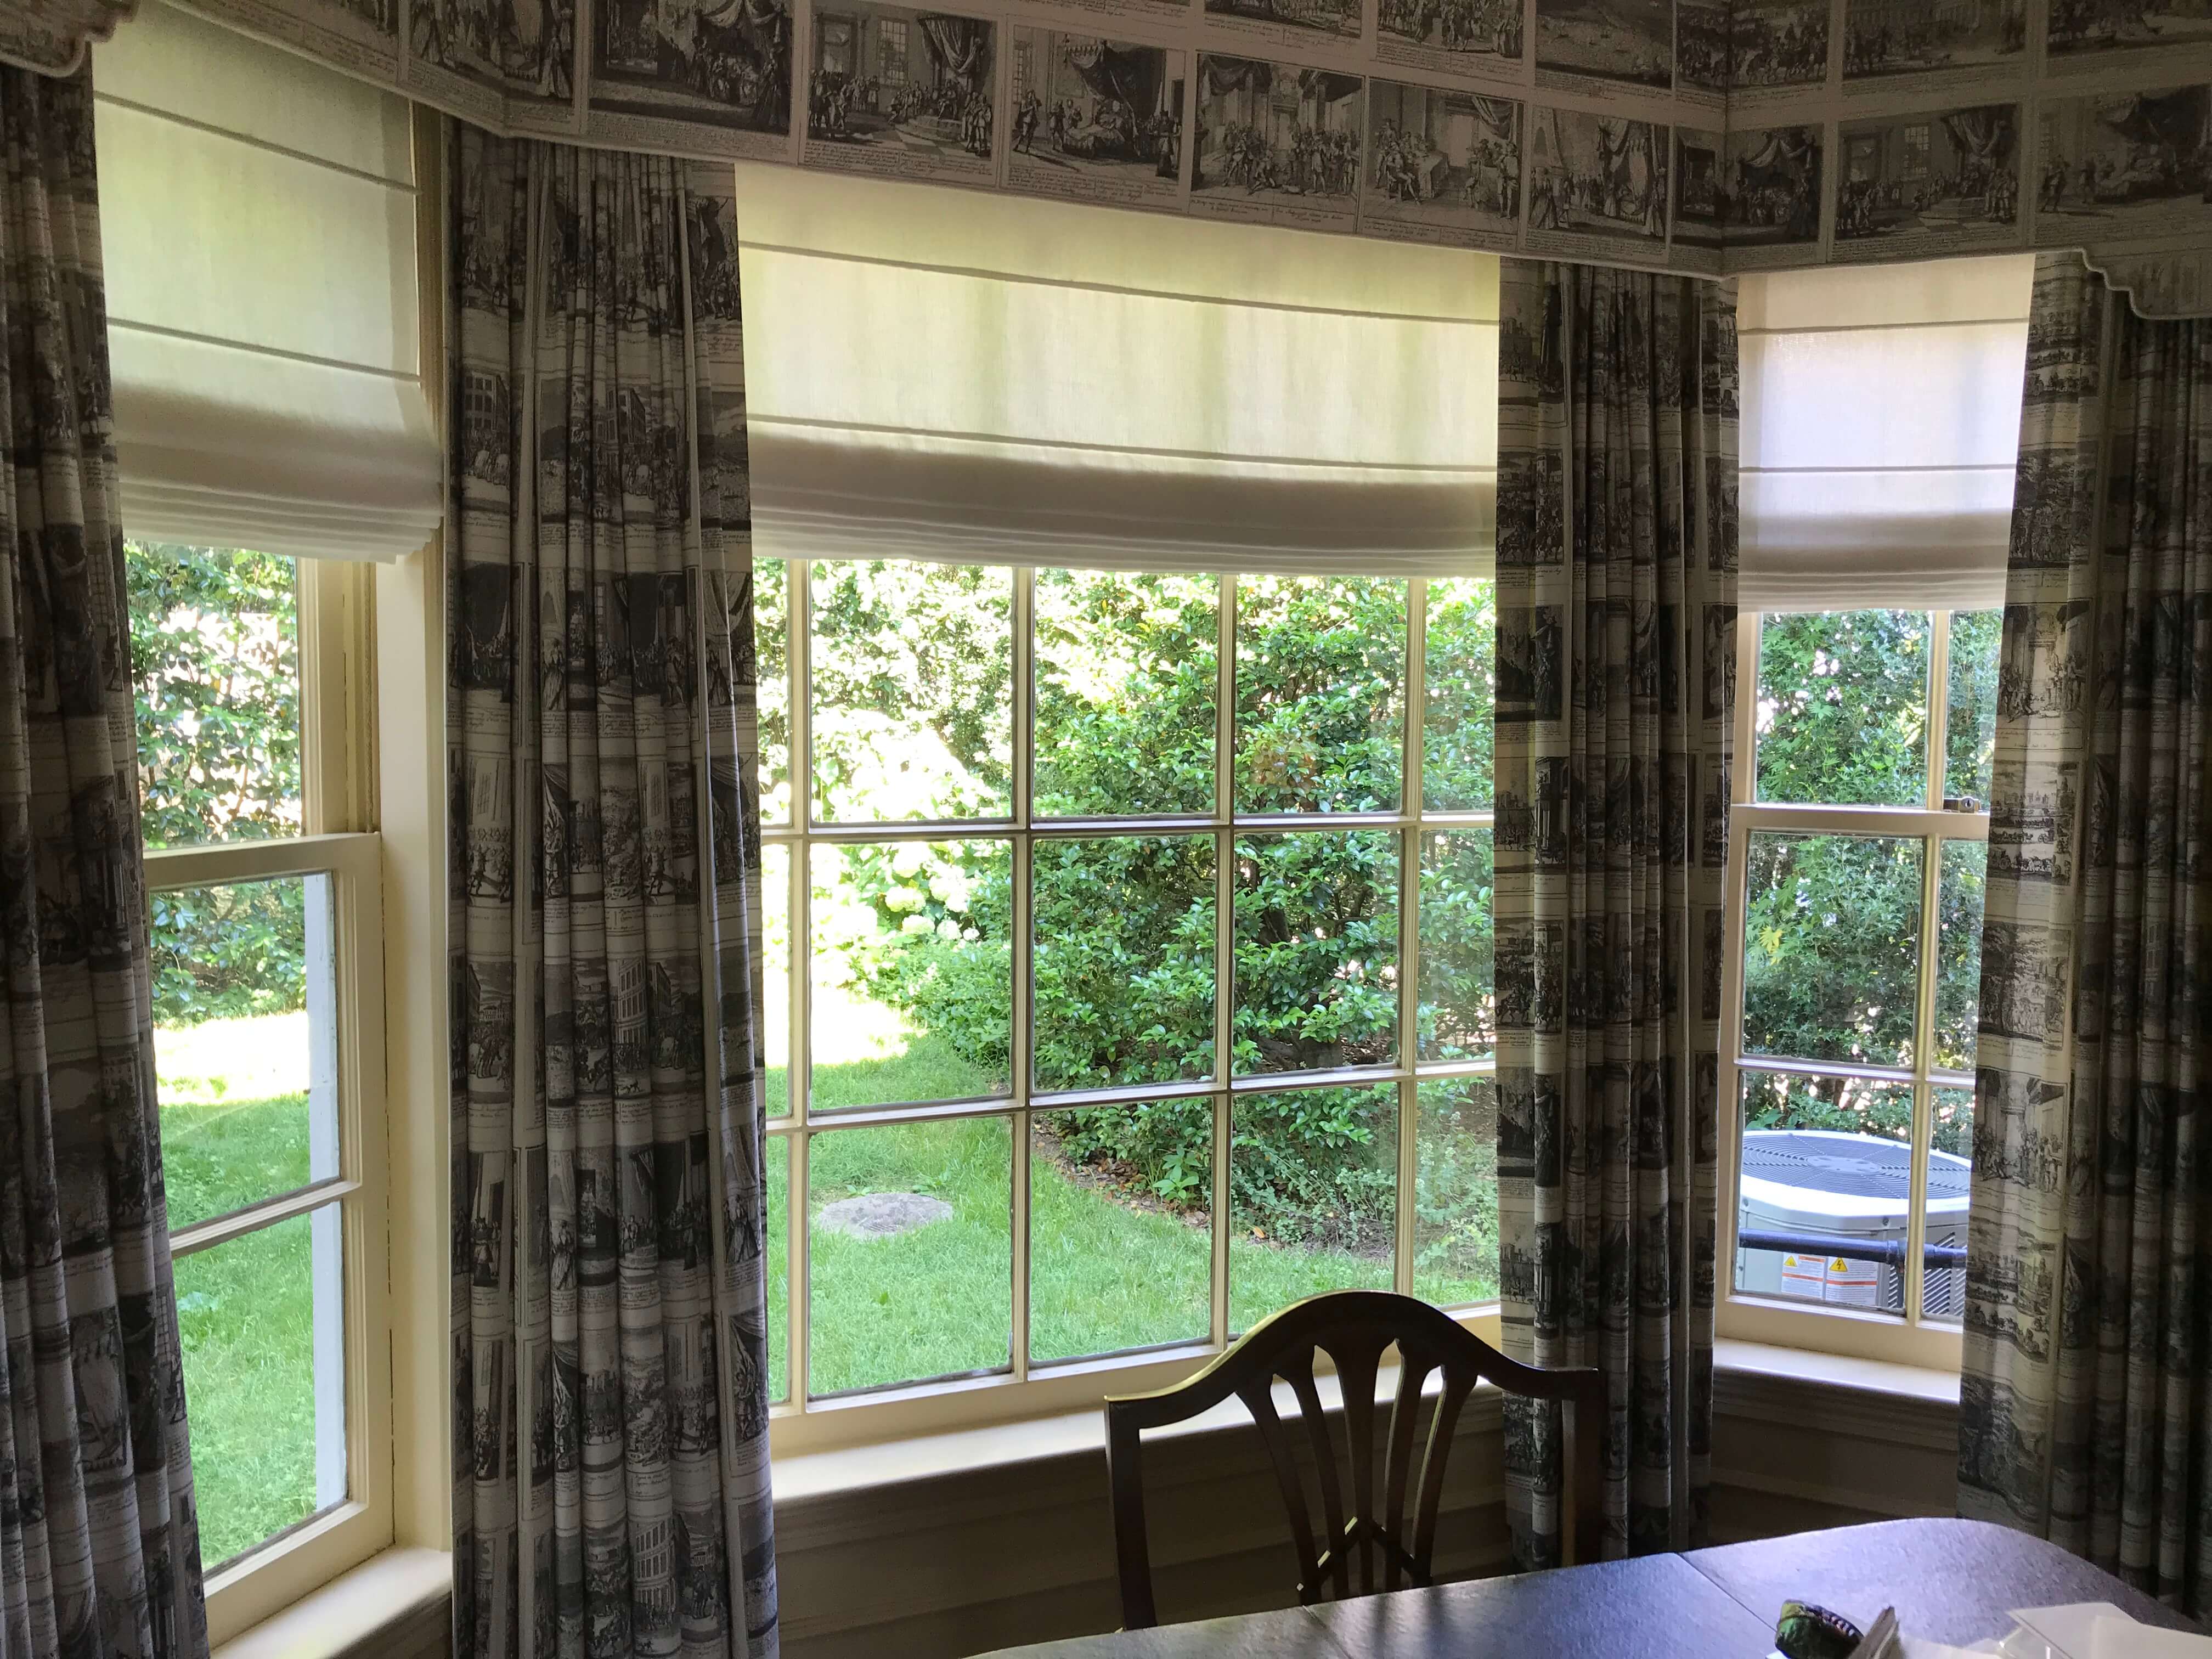
The room put back together
As you’ve seen, there are many steps in the process but as long as you do not rush and follow these steps, all turns out well. My client was thrilled that we made her new windows look old and it’s something you can absolutely do when your windows are in need of an update!