Decorating for The Holidays: How to make a Holiday Arrangement Using Fresh Greens
The Holidays are back and we’re busy decorating for the season! Last year we provided a check-list for decorating with Fresh Greens: one of our favorite ways to decorate for the winter. This year, we’ve outlined a step-by-step guide on how to create your own arrangement using fresh greens. So put on some holiday tunes, grab your shears, and let’s get started!
Step One: Sourcing and Cutting Your Greens
The easiest place to source your greens is from your backyard! If you have magnolia, ivy, cypress, boxwood, or holly growing in your backyard, get your clippers and get cutting! Always cut the branch at an angle close to the joint. This prevents damaging the tree and keeps the greens fresher for longer. It’s easier for the stem to absorb water if it has been cut at an angle.
If you don’t have a backyard or don’t have the right plants growing, head to a garden center or plant market and start browsing. Most markets will have a lovely selection of holiday greens and flowers to choose from. Be sure to pick up a variety of sizes, textures and colors for the best fresh green arrangement. Always buy more than you think you need to cover any mistakes. You can make smaller arrangements with the leftovers.
Finally, if you’re trimming your own Christmas tree, don’t throw the extra branches away! Use them in your arrangements. This is a great way to save a bit of cash and reuse what you already have! The feathery branches from a Christmas tree are perfect for the base of the arrangement.
Step Two: Preparing the foundation
Once you’ve sourced your fresh greens it’s time to prepare your foundation. We recommend getting a few blocks of floral foam to provide structure and keep your greens fresh as long as possible. Soak the foam in advance.
Using floral foam at the bottom of a vase or urn is one of our favorite ways to make a fresh greens arrangement. These larger arrangements look beautiful outside and inside your home, beside doors, and next to fireplaces. Once the foam has been soaked, it’s time to get arranging!
Step Three: Making the base
We recommend building the arrangement in the area that it will be displayed. This gives you a sense of how large the arrangement should be, and how it will look against its surroundings. Make sure you have a pair of clippers on hand when arranging the greens. This allows you to trim each branch as needed. Start with your bulkier, feathery greens to create the base of your arrangement. The fuller the arrangement, the better. Greens such as cypress, fir from your Christmas tree, and juniper have a lot of body to them and make a fantastic base. Where possible, stick the stems directly into the floral foam to ensure they get water and stay green.
Build up the body of the arrangement until it’s looking full but there is still plenty of room for the details. Aim for about two-thirds full. You can always take away or add more as you go on.
Step Four: Get creative
This is the part where you should get creative and let your imagination do the talking. Fill in any gaps with more delicate leaves and details. Adding willow branches gives wonderful height. Magnolia leaves add a beautiful texture and still look amazing once they’ve dried out, perfect for the winter!
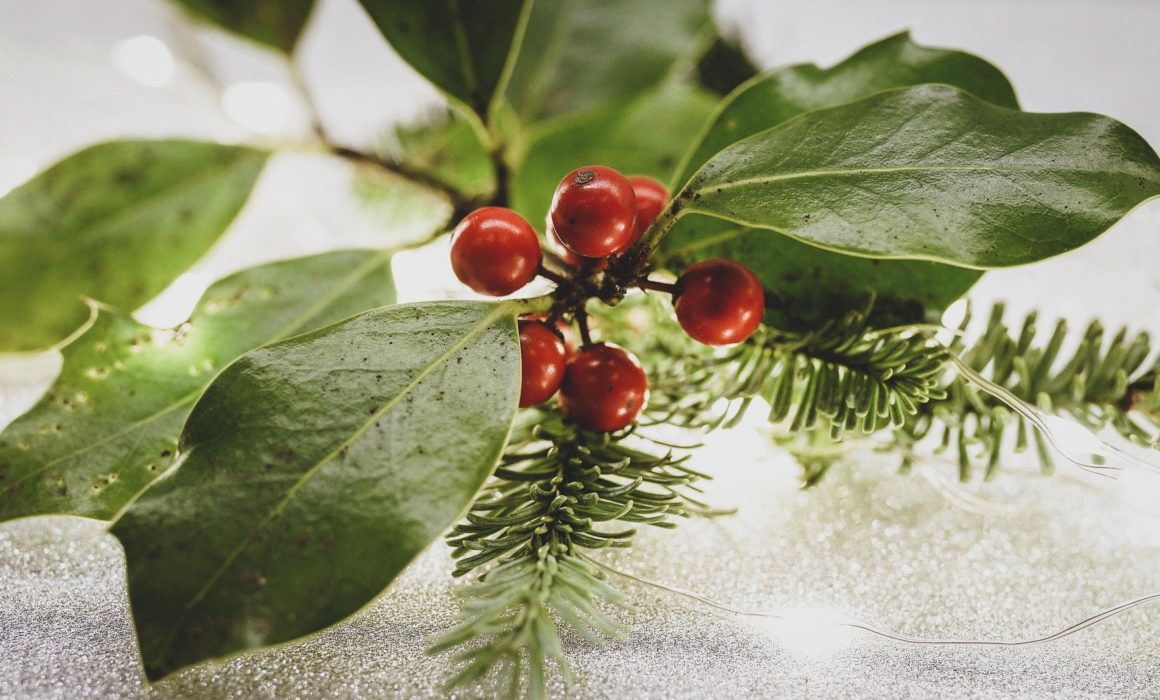
Be sure to add color. Add brown and orange leaves and branches. Make sure to add some red for a festive touch. Winter berry, Holly, and Poinsettias simply scream “holiday season,” so intersperse those within your arrangement. You can also use pinecones by attaching them to some floral wire and sticking the wire into the floral foam. Remember: the fuller the arrangement, the more beautiful!
Don’t be afraid to play around in this step. If you add something in and it doesn’t feel right, take it out and try again.
Step Five: The finishing touches
When you think you’ve finished, be sure to look at the arrangement from a few feet away. Add more base greens if necessary. Move branches around, and be sure the color is evenly dispersed. Look at it from different angles that it’ll be viewed from. Once you’re sure it’s perfect, add a red or tartanware ribbon around the vase or urn.
Congratulations, you’ve created the perfect fresh-greens arrangement!

