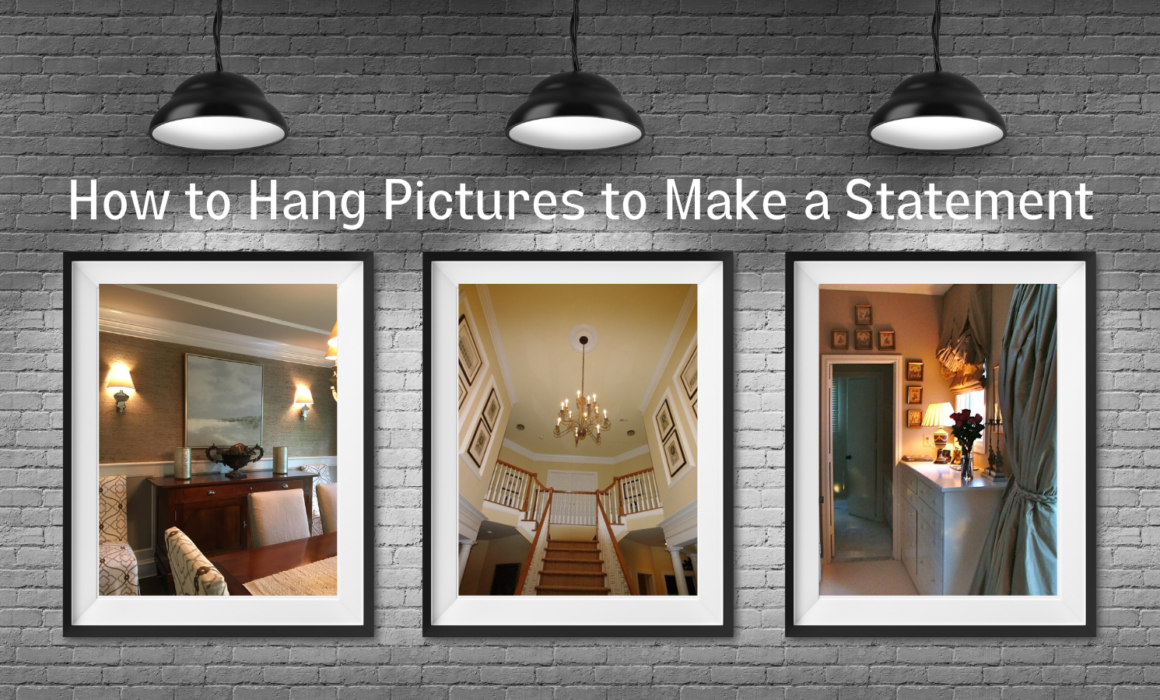
How to Hang Pictures to Make a Statement

Wall art is a crafty way to add charm to a room and hanging it correctly can be tricky.  Its display can not only transform the room but can give the pictures life. There are a few things to consider when hanging pictures.  First, as a general rule of thumb, pictures should be hung at eye level, meaning its midpoint should sit at around 60 inches above the floor.  If you have really low or high ceilings, you can adjust accordingly and place it where it feels right.  Or if your art is in a sitting room, it can be hung a little lower so that it can be in the line of sight to be enjoyed more.  Second, you never want to hang a picture on a wall that receives direct sunlight; this will cause irreversible damage. Other questionable locations are the kitchen and bathroom as these rooms experience heat and humidity that can damage art.  Now, on to different ways to hang pictures to make a statement.

Oversized Art

Add visual impact by hanging a single oversized picture above a large piece of furniture, such as a sofa or credenza.  The oversized art should be approximately ⅔ the width of the piece of furniture and hung six inches above.  If it is being hung above a sofa, it is best to hang it around 10 inches above the back to inhibit people from hitting their heads on the artwork.  

Family Photo Wall

Get your family photos off of your phone and onto your walls! Print out a batch of your family favorites and display them on a gallery wall.  Select a few different mats and frames that coordinate with one another to display your family gallery.  Another popular option is to have your family photos printed on canvas.  These can be all one size to create an arranged grid look or different sizes for a lively collage.  You could even add in a few canvases of abstract art for a more eclectic wall.  These pictures should be hung approximately 2 inches apart.  

Salon Wall

A salon wall contains many different pieces of art of various sizes and mediums, all intermingling next to one another. This trend has been re-emerging in recent years and looks exquisite hanging above a shelf or console table.  This might seem a bit overwhelming but the lack of order in these displays makes them quite easy to create.  You’ll want to start with the largest piece first and place it a bit off-center.  Keeping an even space between each art piece, you’ll start to build around it.  Be sure to not hang similar pieces next to one another and to stagger pieces as hanging them in straight lines will cause the wall to appear dull.  The easiest way to get the configuration that you like best is to play around with it on the floor before you begin poking holes in the wall.

Stagger on a Staircase

With a wall extending from one level to the next, a staircase makes an ideal spot for a picture gallery.  These galleries can be organized symmetrically or staggered.  Either way, you will want to start with the center point of the stairs and work your way outward.  It’s important to keep each picture the same distance apart, about two inches. For a staggered appearance, you will want to hang frames both horizontally and vertically.  If you still have more pictures to place, you can add a gallery to the landing of the stairs to keep the flow going.  

Any of these picture-hanging trends will add character to your home and undoubtedly make a statement!

Exterior Home Painting

It’s Spring!, the time of year when people are beginning outside projects on their homes. Oh, how we love a beautiful bed of new flowers!  It’s the perfect time of year to upgrade your grill and outdoor entertainment space in preparation for all the planned cookouts. Did you know it is the ideal time of year to paint the exterior of your home? It’s not too hot or too cold which is not only essential to the painter but to your home’s exterior surfaces. Painting the exterior of your home provides aesthetic and functional benefits.  

Reasons to Paint Your Home Exterior

Better Curb Appeal

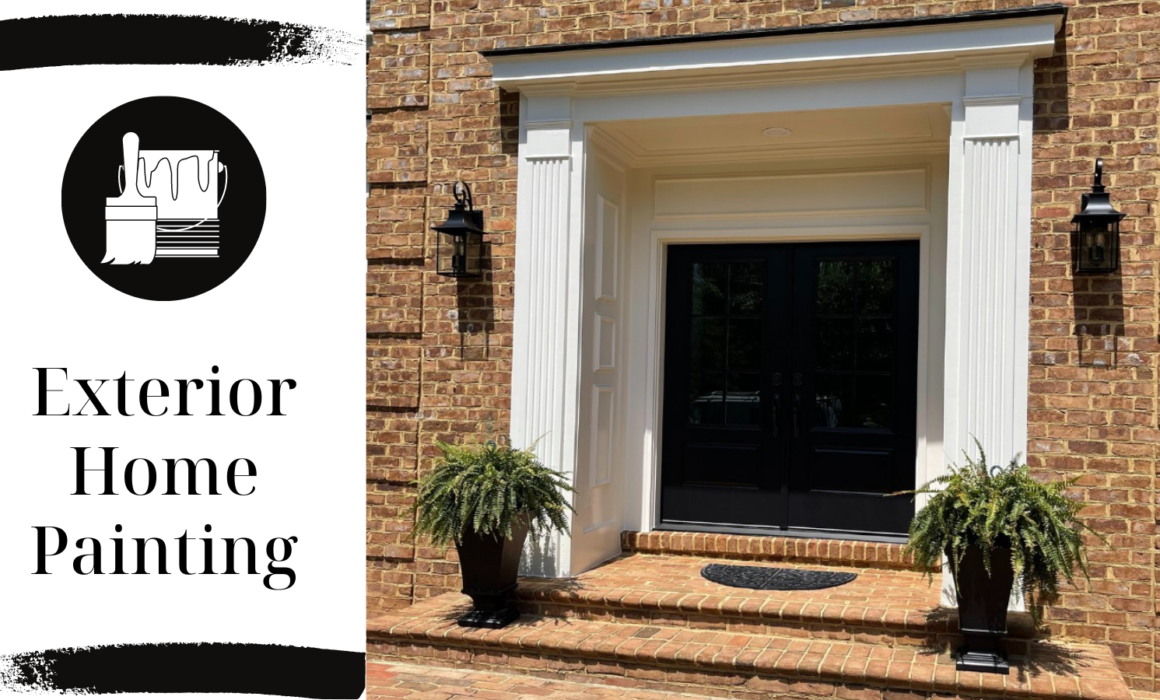
According to the National Association of Realtors, buyers today consider a home’s curb appeal as one of the six most important criteria when deciding to purchase a home.  Having an appealing exterior entices the potential buyers to want to take a look inside.  If the exterior is poorly kept then the buyers might take one glance and keep on driving.  Have you ever heard of the phrase about judging a book by its cover? Even if you are not looking to sell your home, curb appeal is important to a lot of people because it adds a sense of pride.  Having a fresh coat of paint on the exterior is giving your house the look it deserves, plus it will leave a lasting impression on your neighbors.  Some of the most popular exterior paint colors are neutrals such as white, gray, and tan.  Bold colors are welcomed as accents, such as your front door and window shutters.

Protection Against Weathering

The paint on your house protects and shields the siding from nature’s ailments; wind, rain, snow, and sun can be tough on the exterior of your home.  It can increase the lifespan of your siding.  Moisture can cause the exposed siding to expand and soften leading to further paint cracking, flaking, and peeling. A new coat of exterior paint will prevent moisture from seeping into your home which inhibits the growth of mold and mildew that lead to rot.  There is nothing that can be done about rotten wood except for being replaced.  Replacing wood can be expensive especially when it comes to the structure of your home.  Therefore, covering up blemishes before they have time to progress is extremely important.  Additionally, the sun can cause paint to fade and weaken the integrity of the paint.  Not only will a fresh coat of exterior paint brighten the appearance of your home, it also adds protection from the sun.

Help Prevent Insect Infestation

Termites have the capability of demolishing a wood home.  It is imperative to receive regular home inspections for termites and there are additional measures that you can take to protect your home from these pests.  Adding exterior paint covers up cracks that they use as access points and can stop an infestation from occurring.  An additional option for prevention is to apply a layer of borate-based wood preservative before painting.

Inexpensive Renovation

An exterior paint job is one of the cheapest renovations you can do to your home.  It has a considerable return on investment because the increase in the value of the home is greater than the cost to have the home professionally painted.   

Exterior home painting is a budget-friendly springtime renovation.  Having your home exterior regularly painted keeps it looking beautiful and gives it a strong defense against weather and insects. It improves the appeal, function, and value of your home. 


Fabulous Find Underneath Wall to Wall Carpeting

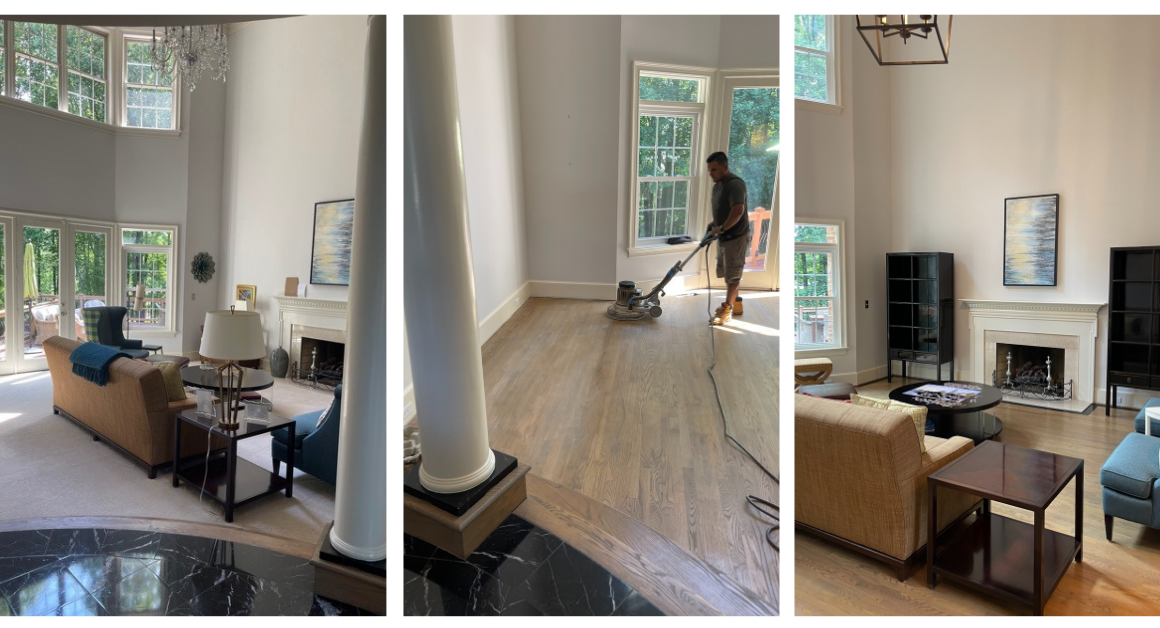
Today we are back in Great Falls, Virginia, working with a client to remodel their living room. When I saw the space, I instantly felt that the wall-to-wall carpeting was outdated and needed to go. Wall-to-Wall carpeting can sometimes work, but in most cases, it makes the room seem smaller. Not to mention that wall-to-wall carpeting traps a lot of dust, which is no good for anyone with allergies. The other issue with wall-to-wall carpeting is that it makes it more difficult to split the room up into sections, whereas using rugs allows the floor to be divided up. 

All this to say that the wall-to-wall carpeting needed to go. Keep reading to find out how this first step led to the transformation of this living room floor. 

Tearing Up The Carpeting

My lovely contractors and I got to work tearing up the old carpet. It had been installed in sections, so we began removing each carpet piece, the padding, and the tack strips. And guess what we found?! The most beautiful hardwood floors that I knew would look stunning with a bit of TLC. The wood was in great condition and just needed a little restoration and detail work. I was relieved to see this because when removing the carpet you don’t always know what you’re going to find underneath. Oftentimes, it reveals damaged or molding floorboards. We were all so delighted to find the beautiful woodwork.

Preparing the Design

As soon as my client and I saw the beautiful wood floor, we knew it was going to stay. But I knew some detail work would take this from a nice living room to a stunning living room. The living room is two steps down from a landing that features black marble. There are pillars around this landing that stand on black bases. When set up with furniture, the room had two beautiful black cabinets and a lovely modern black coffee table. I wanted to incorporate this black accent color into the floors for continuity in the design, so I planned on giving the floors a black-painted border. With all that in mind, we could begin the restoration process.

Restoring the Wood

We were happy with the color of the wood and didn’t want to stain it again, so the first step to the restoration process was buffing the floors to prepare them for a wood finish. Buffing is basically where you remove the very thin top layer of wood finish previously laid down, thereby also removing any built-up dust or grime. This process is similar to very fine sanding. My contractors used an industrial floor buffer for the main floor and hand-buffed the stairs. After that, we measured a 4-inch border around the edges of the room, taking our time and being very precise – it wouldn’t work unless it was neat. 

Once the wood was prepped, we laid down a water-based satin wood finish to give the wood that glossy sheen. A water-based satin finish is a great choice for a living space because it is scuff-resistant and easy to clean. The wood is looking really beautiful already!

Finishing Touches

After the wood was restored, the only job left was to paint the black border around the room. Using tape for precision, we took our time with this step ensuring that it was perfect. Once the wood finish and the paint were dry, the floor transformation was complete. We moved all the furniture back into the room, and what an incredible difference the floors have made! The surprise of the beautiful wooden floors below the original carpeting gave way to such a magnificent finished design. The wooden floors make the entire room feel so much warmer. I absolutely love how the black border turned out and more importantly, my client loved it too. All that is missing from this beautiful living room is a nice area rug for the sofas.

Interested in renovating?

If you have outdated wall-to-wall carpeting, it’s time to consider renovating. Changing the floors goes to show that sometimes you don’t need a million changes to transform a room. Oftentimes one key change can make the biggest difference. However, working on floors is always a laborious task because you often need to be on your hands and knees to complete the work. Let me and my team of highly skilled contractors and craftsmen help you! Visit our services page to book your free consultation today.


Kelley Astore Interiors

Expert Interior Design & Renovation Services of Every Style.

Where We Work

Northern Virginia, Washington, DC,
and the Greater Washington Area

GET IN TOUCH
Connect

Privacy Settings
We use cookies to enhance your experience while using our website. If you are using our Services via a browser you can restrict, block or remove cookies through your web browser settings. We also use content and scripts from third parties that may use tracking technologies. You can selectively provide your consent below to allow such third party embeds. For complete information about the cookies we use, data we collect and how we process them, please check our Privacy Policy
Youtube
Consent to display content from Youtube
Vimeo
Consent to display content from Vimeo
Google Maps
Consent to display content from Google
Call Now ButtonCall Us For A Quote!