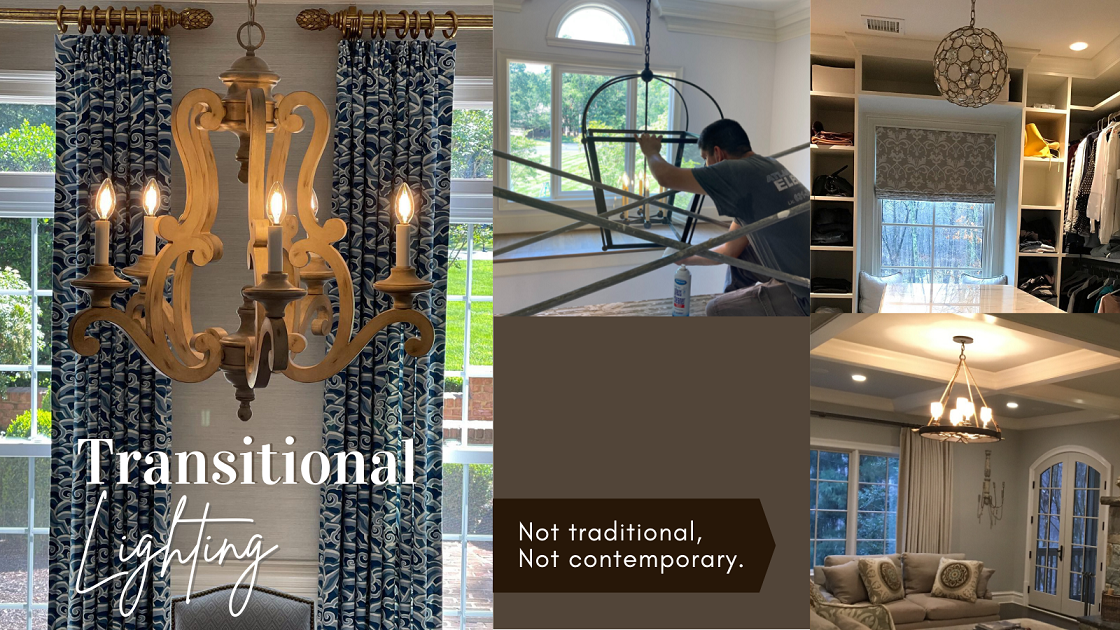
Transitional Lighting
Transitional lighting, not quite traditional, not quite modern, gives us the best of both worlds! It creates a simple yet sophisticated appearance by selecting features from these two contrasting styles which is extremely versatile. The feel is comfortable and fresh due to the mixing of straight lines and sleekness from the contemporary style with the warmth and roundness of the traditional style. For example, the fixture could feature a drum with clean edges and a simple base but have a warm finish and soft texture or it could have a modern base that evolves into an ornate shade.
Transitional lighting has a set of common characteristics. Fixtures have uncomplicated lines, few ornate details, and occasionally have fabric shades. The finishes are monochromatic but differ between warm traditional tones or cool contemporary.
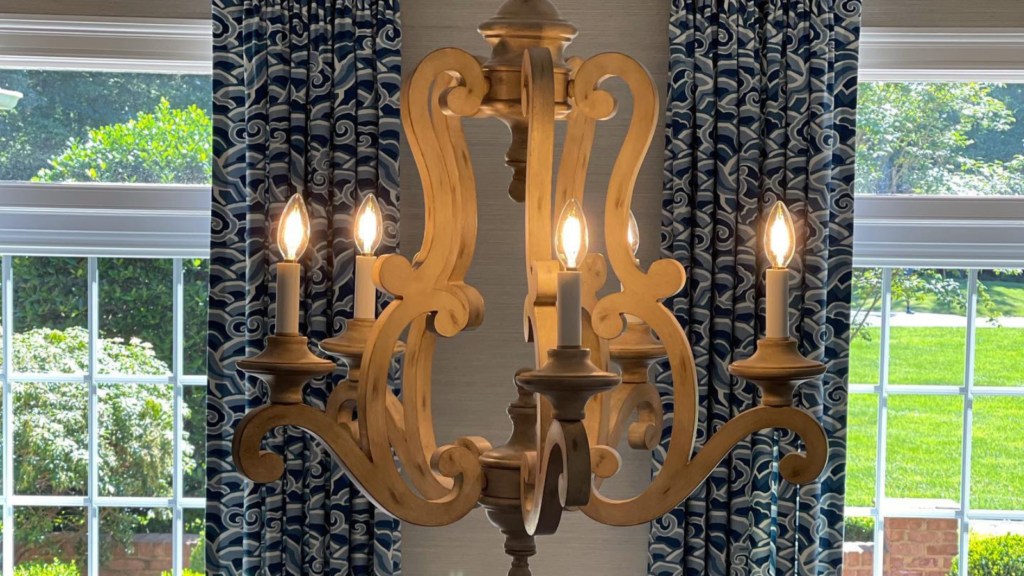
Painted wood transitional lighting hanging over a dining table in the center of a Dining Room in Great Falls, VA. You can see the simplicity in the design: clean lines, slight curves, and a warm tone.
Installing a transitional lantern in an entrance hall. Again, there is simplicity in the design with clean edges and a monochromatic finish.
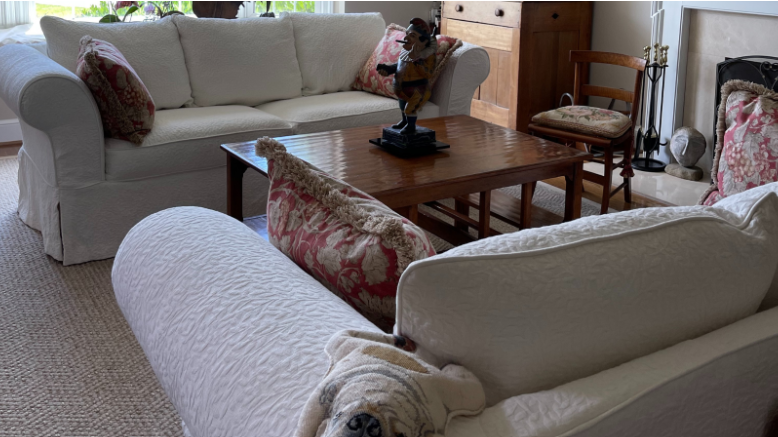
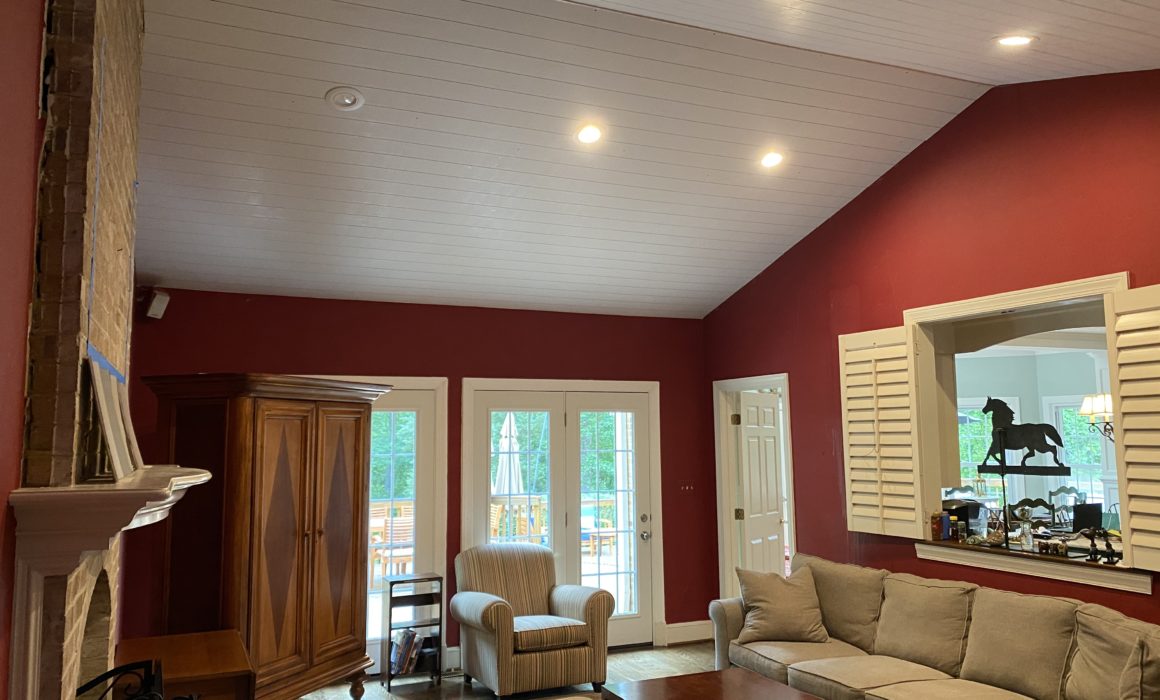
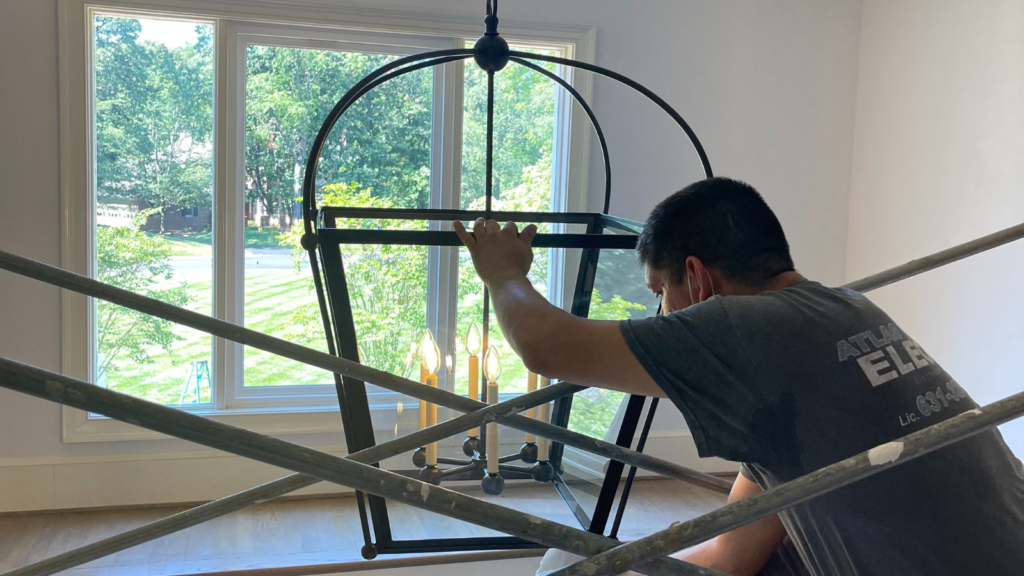
A transitional oil rubbed bronze hanging light fixture in a family room in Reston, VA: a simple base and clean finish.
If you are torn by which type of lighting to choose, you can’t go wrong with transitional. It will give the room a bright new ambiance that will complement the design that is already present.