Kitchen Cabinet Refinishing: Cherry Stain to Beautiful Gray
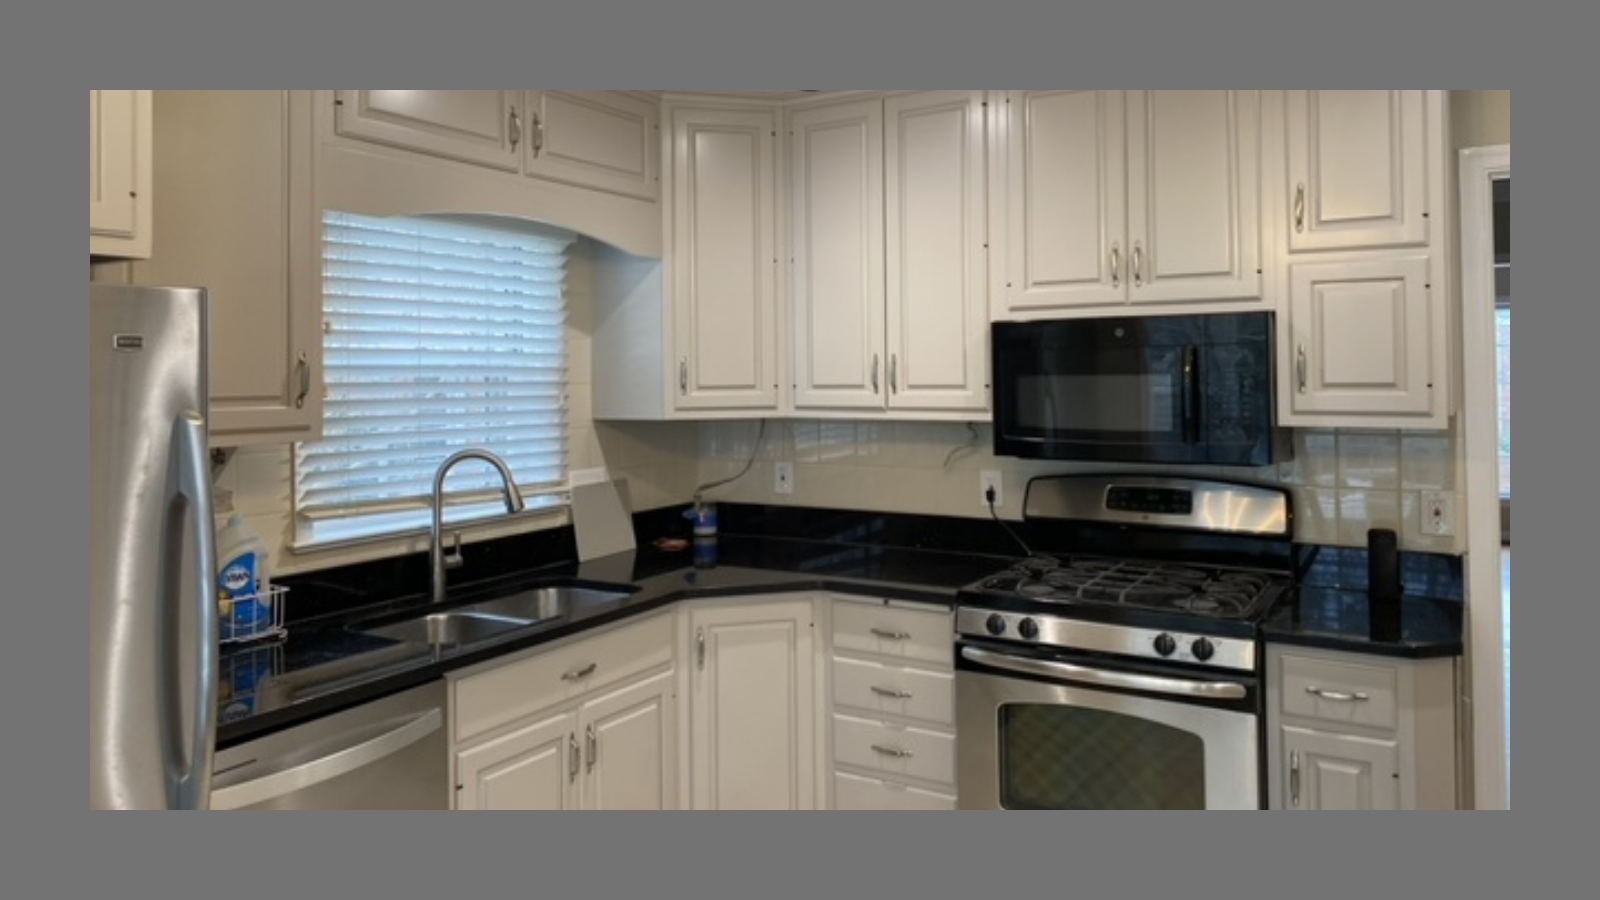
The kitchen was fairly up-to-date with new black granite countertops and stainless steel appliances. However, the cabinets needed an updated touch! They had a cherry stain that completely clashed with the rest of the kitchen so we decided to refinish them.
Steps to Refinishing Kitchen Cabinets
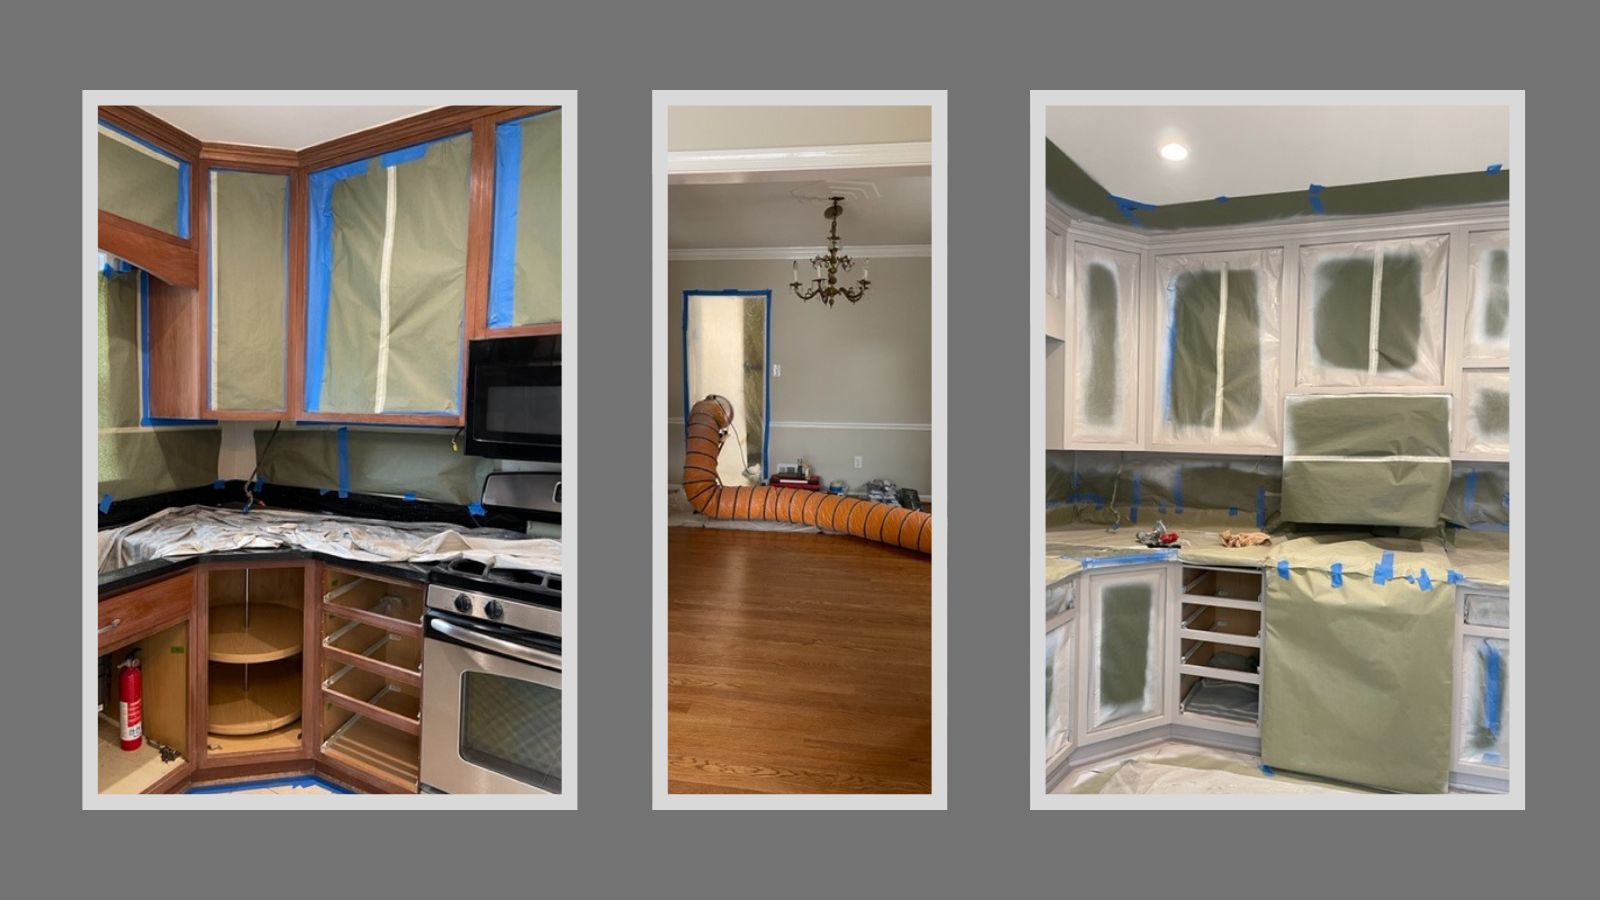
The first step in revamping these cabinets was to remove the doors and drawers. They were sent to my carpenter’s shop to be sanded and primed. Then, they received two coats of finished lacquer. The chosen paint color was Ben Moore AC-34, also known as Cape Hatteras Sand. It is part of an interesting collection, America’s Colors, of soft neutrals that “snapshot America’s most popular, well-traveled regions” making it a very welcoming choice.
While the doors and drawers were in the shop, my guys began with taping off the inside frame of the cabinets so that no paint would get in. Additionally, they taped around the appliances to make sure they were protected. My team sprayed the first coat of primer before spraying two coats of finished lacquer. Lacquer paint has a strong odor so we ventilated the area with a fan and a long tube that exhausted the fumes outside of the house. Once completely dry, the paper and tape were removed and the doors and drawers were reinstalled.
The Finishing Touch
It was a surprising reveal, amazing how much different a space can look when the correct colors are present! The gray cabinets with stainless finishes blended seamlessly with the black granite countertops, stainless steel appliances, white backsplash, and light-colored floors. Something as modest as refinishing the kitchen cabinets gave the entire kitchen a brand new look without having to completely renovate the entire room.