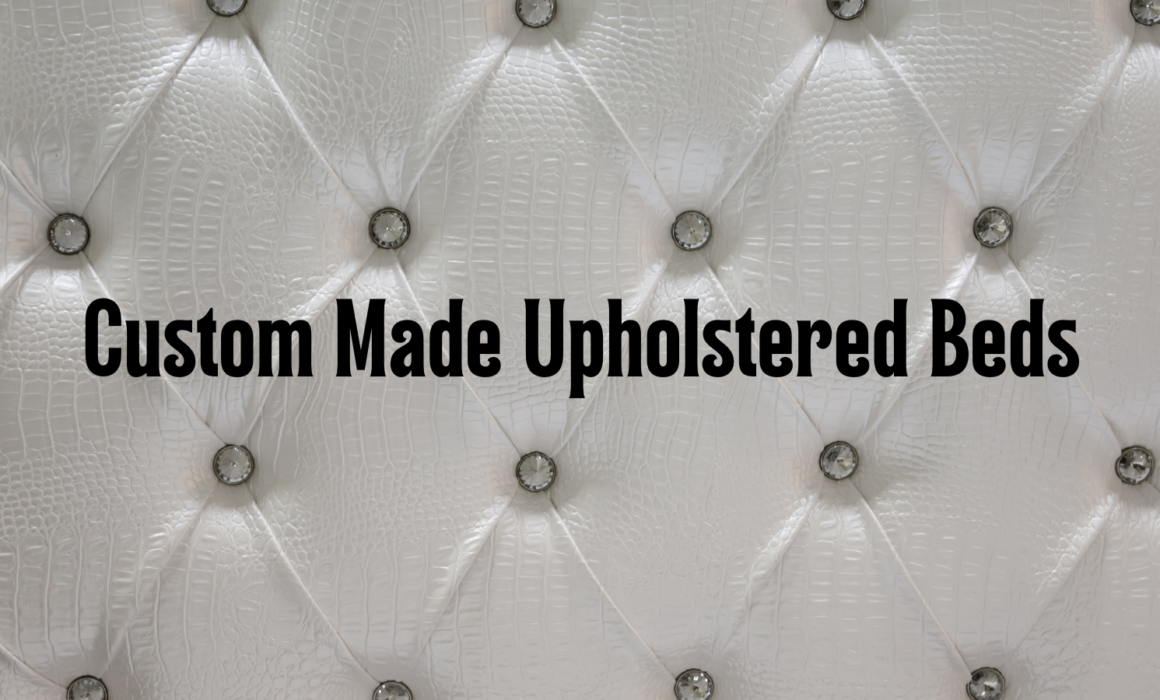
Upholstered Custom Made Bed

Most people spend around a third of the day in bed: sleeping, watching TV, reading, etc. So why not have a bed built for royalty? When you create a custom-made bed, the possibilities are endless; you are able to choose the shape, upholstery, and finishing details.  Plus, they are one-of-a-kind pieces that can be designed to meet precise specifications and squeeze into tight spaces, such as between windows.

Steps in Choosing a Custom Made Bed

Headboard Style

If you are wanting to add several pillows to your bed and design around the room, you may opt for a simple sleek panel. On the contrary, choosing a wingback design can give the bed dimension, generating a focal point to the bedroom.  

Headboard Shape

A rectangular headboard provides clean lines and a clean palette; this shape can maintain serenity in the room.  Due to its neutral stance, it provides the flexibility to change out bedding, pillows, and decor.  Still a simple design but giving the bed an enhancement is slightly arching the top of the headboard.  To undoubtedly make your bed the centerpiece of the bedroom, choose a custom shape… think fleur de lis; it definitely does not have to be that extravagant to draw the attention of the room, a few curves are enough to satisfy.  

Headboard Height

  • Low Profile: 36-48″ H
  • Average: 48- 60″ H
  • Above Average: 60-72″ H
  • Tall: 72- 80″ H
  • Oversize: 81″-120″ H

Headboard Only vs. Custom Bed Frame

There is the option of attaching your custom-made headboard to an ordinary bed frame and electing to have a bed skirt cover the box spring.  Or there is the choice of a custom-made bed frame. These are designed to match the headboard and can be built to support your mattress (platform), mattress, and box spring (standard), or to cover them (adjustable mattress foundation).  To give the bed a more complete look, a matching footboard can be added.  These sit up slightly higher than the mattress and excel in keeping comforters on the bed.

Custom Made Bed Finishing Touches

The exciting part is choosing the upholstery!  Will it be velvet, leather, or natural fabric?  Then there is the color, are you going to go with a neutral color or a vibrant color or pattern to really make a statement?  You can have the fabric pulled smooth and tight across the bed or there is the option of adding tufts.  I think that the icing on the cake is the addition of nailheads and usually choose the same metal finish that is used throughout the room.

My Custom Made Bed Projects

Custom Made Upholstered Beds

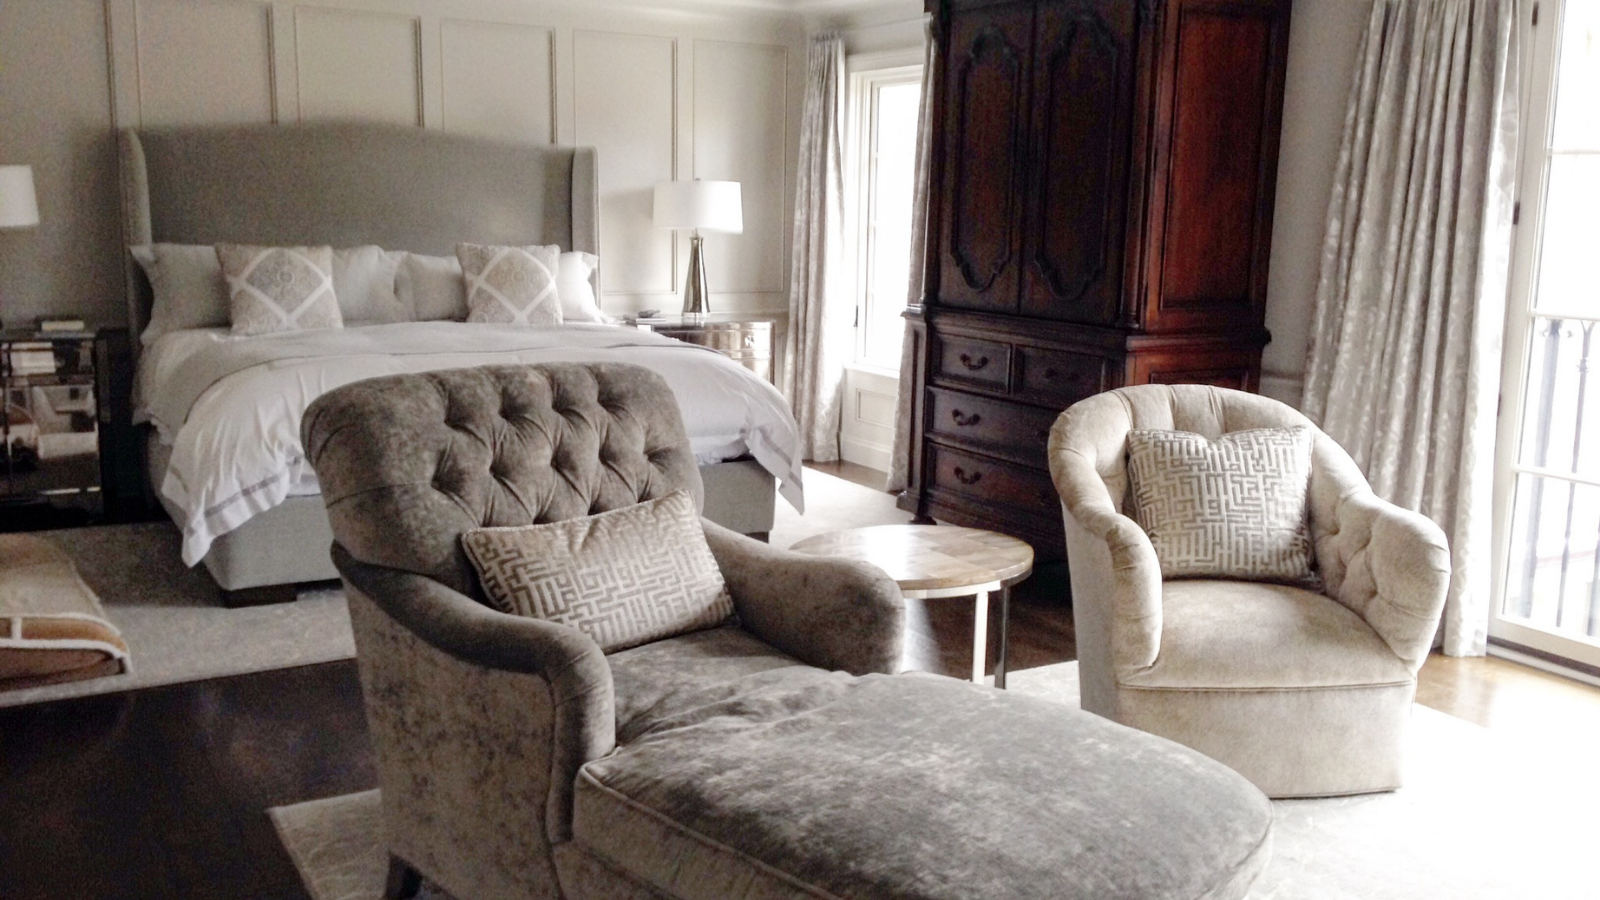
This bed was upholstered in a gray velvet by Kravet.  As you can see, my upholsterer made the base of the bed the exact size of the box spring and mattress and it flows seamlessly with the headboard.  There is a slight arch to the headboard to conform to the classy appearance of the bedroom.  

Custom Made Upholstered Beds

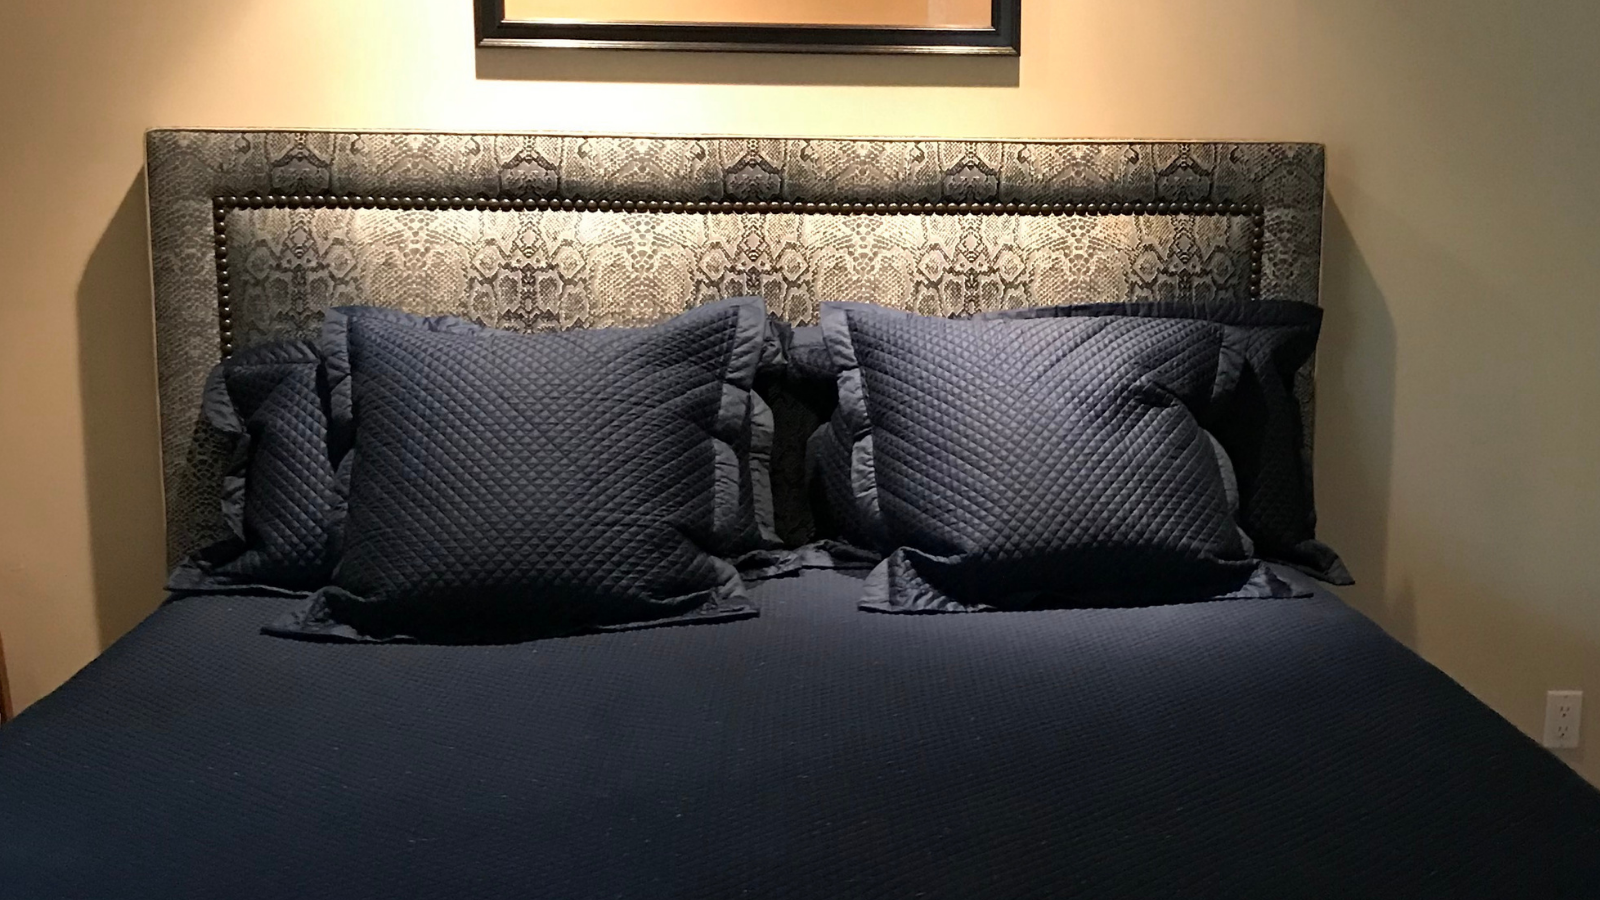
We kept the style of this custom bed simple and chose an eye-catching fabric to make it the focal point of the bedroom.  The finishing touch of the nailhead trim perfected this chic design.

We are able to make beds per our customers’ requests so we have the ability to set the desired ambiance in any bedroom.  My team and I make our masterpieces to last a lifetime so that a third of your life is spent in the bed of your dreams!


Kitchen Cabinet Refinishing: Cherry Stain to Beautiful Gray

The kitchen was fairly up-to-date with new black granite countertops and stainless steel appliances.  However, the cabinets needed an updated touch!  They had a cherry stain that completely clashed with the rest of the kitchen so we decided to refinish them.

Steps to Refinishing Kitchen Cabinets

The first step in revamping these cabinets was to remove the doors and drawers.  They were sent to my carpenter’s shop to be sanded and primed.  Then, they received two coats of finished lacquer.  The chosen paint color was Ben Moore AC-34, also known as Cape Hatteras Sand.  It is part of an interesting collection, America’s Colors, of soft neutrals that “snapshot America’s most popular, well-traveled regions” making it a very welcoming choice.

While the doors and drawers were in the shop, my guys began with taping off the inside frame of the cabinets so that no paint would get in.  Additionally, they taped around the appliances to make sure they were protected.  My team sprayed the first coat of primer before spraying two coats of finished lacquer.  Lacquer paint has a strong odor so we ventilated the area with a fan and a long tube that exhausted the fumes outside of the house. Once completely dry, the paper and tape were removed and the doors and drawers were reinstalled. 

Kitchen Cabinet Refinishing

The Finishing Touch

It was a surprising reveal, amazing how much different a space can look when the correct colors are present!  The gray cabinets with stainless finishes blended seamlessly with the black granite countertops, stainless steel appliances, white backsplash, and light-colored floors.  Something as modest as refinishing the kitchen cabinets gave the entire kitchen a brand new look without having to completely renovate the entire room.

Kitchen Cabinet Refinishing


From Reds to Riches: Complete Bathroom Remodel

This bathroom was in need of a makeover.  It had 4×4 builder-grade tile on the floor.  The shower was a tiny walk-in shower with a shower curtain and the vanity was extremely short with no counter space.  There was a linen closet that made the space feel crowded and closed off.  The ceiling required smoothing, new ventilation, and recessed lighting by the shower. Plus, the walls were in need of a fresh coat of paint.

What was the bathroom remodel process?

The first step in our renovation was to completely gut the entire bathroom, removing the linen closet to be able to create a larger shower.  We placed new drywall where the old shower and closet were ripped out.  Now, it was time to map the position of the new shower and install the tile; I chose a 4×12 navy blue ceramic tile with glaze.  The new shower remained in the same place as the previous shower so that we did not have to alter the plumbing. 

Complete Bathroom Remodel - During

Next, we laid the bathroom flooring tile in a brick like pattern.  Marble Systems supplied this  beautiful 12×24 white porcelain tile with gray veining.  We selected a 1×1 tumbled marble for the shower floor to give it a natural look and prevent the surface from becoming slippery when wet.  

After priming the walls, we painted them Ben Moore AC-25 Harbor Gray to pull out the gray veins in the flooring.  We put in large glass panels for the shower door and neighboring wall to provide an open room that was once very closed off. We picked a large, single sink vanity with plenty of counter space and storage.  It was painted navy blue to complement the shower walls and topped with white carrera marble.  Additionally, a large mirror with white trim and a new vanity light was placed to continue in helping the bathroom appear big and bright.  Lastly, a brand new toilet and all chrome finishes were installed to match the sleekness of a brand new bathroom.  

Complete Bathroom Remodel - Finished

Ta-da! You’ve seen the full bathroom remodel from reds to riches.


Kelley Astore Interiors

Expert Interior Design & Renovation Services of Every Style.

Where We Work

Northern Virginia, Washington, DC,
and the Greater Washington Area

GET IN TOUCH
Connect

Privacy Settings
We use cookies to enhance your experience while using our website. If you are using our Services via a browser you can restrict, block or remove cookies through your web browser settings. We also use content and scripts from third parties that may use tracking technologies. You can selectively provide your consent below to allow such third party embeds. For complete information about the cookies we use, data we collect and how we process them, please check our Privacy Policy
Youtube
Consent to display content from Youtube
Vimeo
Consent to display content from Vimeo
Google Maps
Consent to display content from Google
Call Now ButtonCall Us For A Quote!